A block paving driveway is one of the most popular ways to finish the front of a UK home, and for good reason. It looks smart, copes easily with the weight of vehicles, and if a section is ever damaged you can lift and replace individual blocks rather than digging up the whole drive. Laid properly, it should give you decades of service with only light upkeep.
Whether you are replacing a tired old drive, turning a front garden into off-road parking, or starting from bare ground, this guide walks you through the options, the patterns, realistic costs, the drainage and planning rules that catch people out, and how to keep the surface looking good for years. We design and lay driveways across Cambridge and East Anglia, so everything below is grounded in how these jobs actually run on site.
Why choose block paving for a driveway?
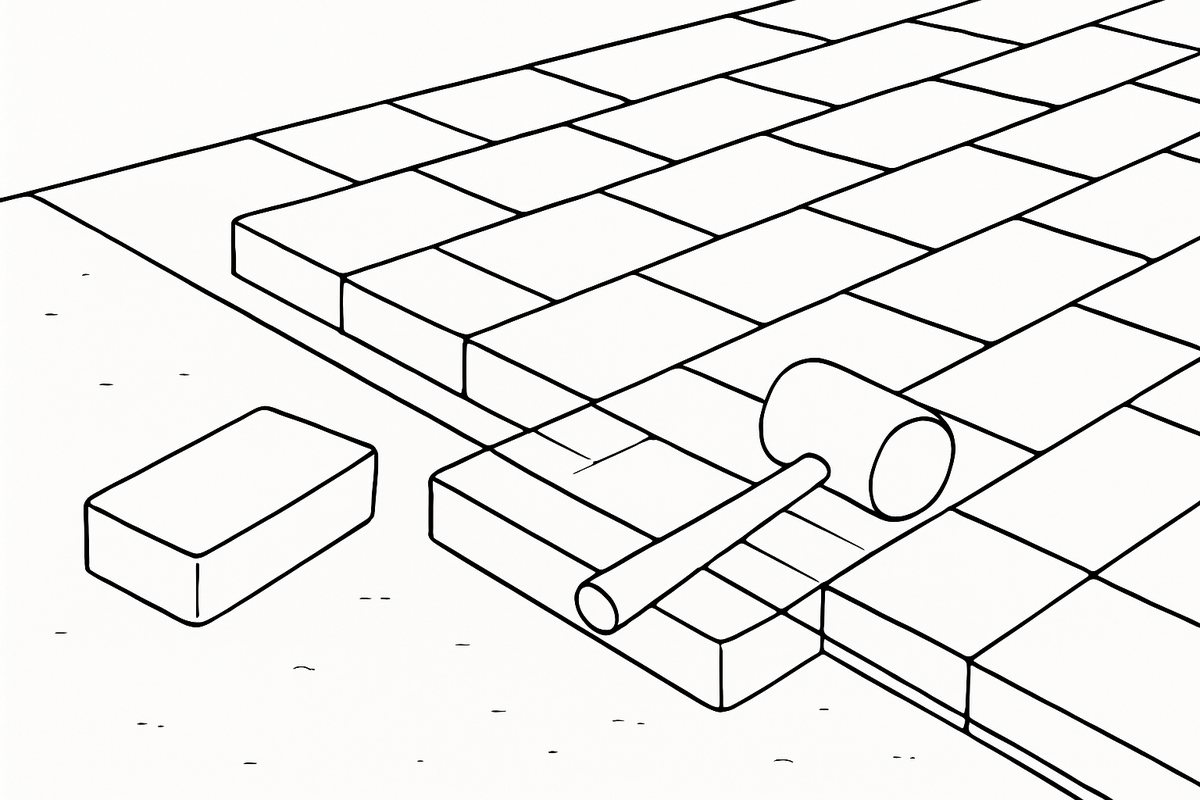
Block paving uses small, individual units laid tightly together over a compacted sub-base and a bed of sharp sand. The blocks interlock and share load across the whole surface, which is why a well-built drive carries vehicle weight without cracking the way a single slab or poorly laid concrete slab can.
The main advantages:
- Repairability. Damaged, stained or sunken blocks can be lifted out and swapped individually. Try that with a tarmac or concrete surface.
- Choice. A wide range of colours, shapes and finishes, from tumbled cobble-style blocks to crisp modern rectangles.
- Strength. Purpose-made driveway blocks are built for vehicle loads, unlike thinner patio paving.
- Kerb appeal. A neat, well-drained drive genuinely lifts the look of a property.
The trade-offs are honest ones: block paving needs occasional weeding and re-sanding, it costs more than a plain gravel or tarmac finish, and a poor installation over a weak sub-base will rut and sink. The groundwork matters far more than the blocks themselves.
Types of block paving
Most driveway blocks fall into two families:
- Concrete blocks. The workhorse of UK drives: affordable, tough, easy to source, and available in nearly every colour and shape. Tumbled or rumbled versions have softened edges for a traditional, aged look.
- Clay pavers. Fired brick pavers that hold their colour far longer, because the shade runs through the whole block rather than sitting on the surface. They cost more but weather well.
You will also come across permeable blocks, which have wider spacer nibs so water drains down through the joints instead of running off the surface — more on why that matters below. For any driveway, always specify blocks rated for vehicle use (typically 50mm or 60mm thick), never 20mm patio paving.
Laying patterns explained
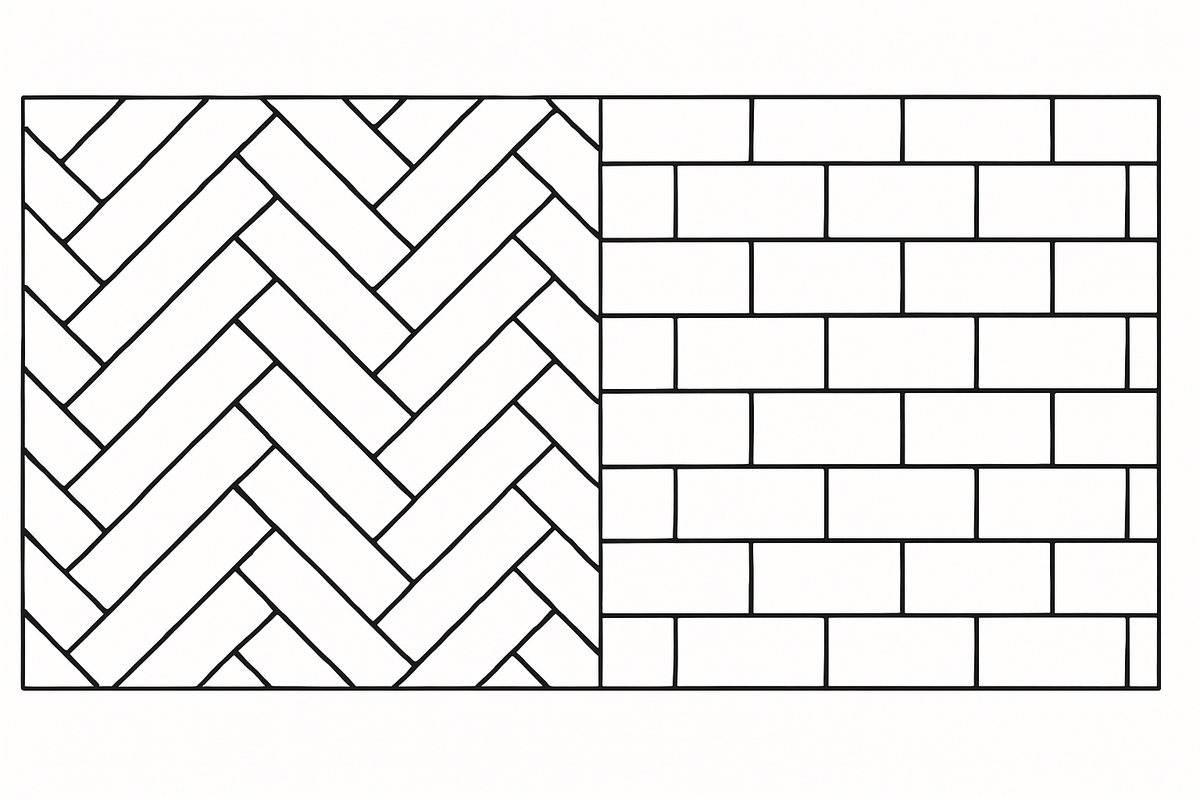
The pattern you pick affects both the look and the structural strength of the drive. The three you will meet most often:
Herringbone
Blocks laid at 45 or 90 degrees in an interlocking zig-zag. This is the strongest option for driveways, because the interlock resists the sideways forces of braking, turning and parking. If your drive takes heavy or frequent traffic, herringbone is the sensible default.
Stretcher bond (running bond)
A simple staggered-joint pattern, like a brick wall. It is quick to lay and looks tidy, but it holds up less well under vehicle movement than herringbone, so it suits paths, edges and lighter-use areas better than a busy drive.
Basketweave and stack bond
Basketweave (pairs of blocks alternating direction) gives a period, decorative feel, while stack bond (blocks lined up in a grid) reads as very contemporary. Both are weaker under vehicle loads, so keep them for patios, borders or feature panels rather than the main trafficked area.
Many drives combine a strong herringbone field with a contrasting soldier-course border to frame the space and tidy up the cut edges.
What's underneath matters most: sub-base and edging
The single biggest reason a block driveway fails is skimped groundwork. A proper build-up looks roughly like this, from the bottom up:
- Excavation. Dig out deep enough for the whole build-up — usually around 200–250mm for a driveway, more on soft or clay ground.
- Sub-base. A compacted layer of MOT Type 1 crushed stone, typically 100–150mm thick for driveways, laid and rolled in layers with a plate compactor or roller. This is the load-bearing heart of the drive.
- Laying course. A screeded bed of sharp sand, roughly 30–50mm, that the blocks sit on.
- Blocks. Laid to pattern, then vibrated in with a plate compactor over a rubber mat.
- Jointing sand. Fine kiln-dried sand brushed into the joints and vibrated in to lock everything together.
Edge restraints matter just as much. Without a firm edge — usually kerbs or an edging course haunched in concrete — the outer blocks work loose and creep outwards over time. A drive is only ever as good as its sub-base and its edges.
Drainage and planning permission
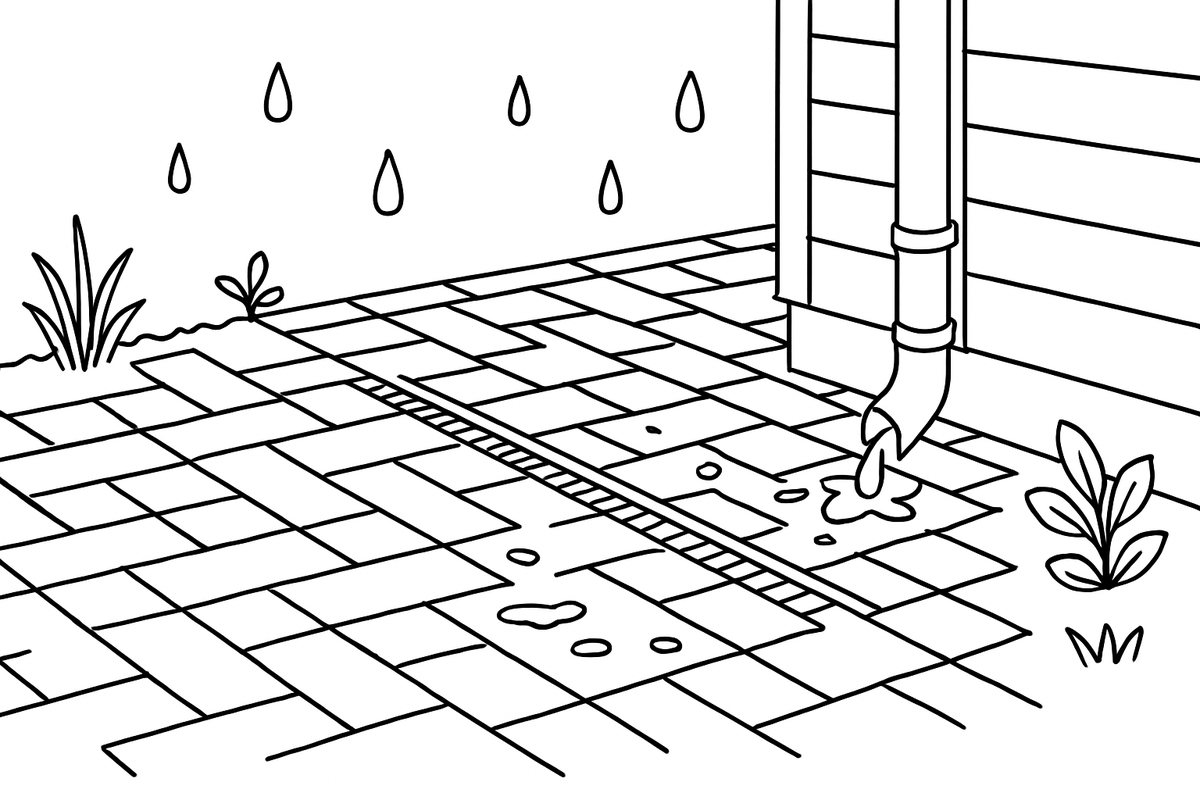
This is the part homeowners most often overlook, and getting it wrong can mean trouble later. In England, if you lay or replace more than five square metres of driveway using traditional impermeable block paving, you generally need to either direct rainwater to a permeable area within your own property (such as a border or lawn) or apply for planning permission. If you use permeable paving, or the water drains within your own garden, the work usually falls under permitted development and no permission is needed.
The reasoning is surface water: too many hard, non-draining drives overload local drains and worsen flooding. This is where Sustainable Drainage Systems (SuDS) come in. You have a few good options:
- Permeable block paving. Special blocks with wider joints filled with grit, laid over an open-graded stone sub-base that holds water and releases it slowly. No connection to the mains drain needed.
- Falls and channel drains. Laying the drive to a gentle slope so water runs to a linear channel drain or a planted border, rather than towards the house or the pavement.
- Soakaways. A stone-filled pit that lets collected water disperse into the ground, subject to your soil type.
Never lay a drive so that water runs onto the public footpath or road, and never let it run towards your house walls. If you are close to a boundary, working over a soakaway, or unsure about clay ground, it is worth getting professional advice before you dig. For a fuller explanation, see our guide to permeable paving and driveway drainage.
How much does a block paving driveway cost?
Costs vary a lot with size, access, ground conditions, block choice, and how much old surface has to be dug out and carted away. Treat the figures below as a rough guide only — the only accurate number is a quote based on someone seeing your drive.
- Standard concrete block paving, supplied and fully installed: as a rough guide, typically around £90–£150 per m2, including groundwork and sub-base.
- Premium blocks (tumbled concrete, clay pavers or permeable systems): typically around £140–£220 per m2 installed, sometimes more for high-end ranges.
- Block material only, bought separately: often somewhere around £20–£70 per m2 for concrete, with clay and designer ranges running higher.
Several things push the price up or down:
- Excavation and disposal. Breaking out a thick old concrete base and skipping the spoil adds cost.
- Ground conditions. Soft, wet or clay ground may need a deeper sub-base or a geotextile membrane.
- Drainage works. Channel drains, soakaways or permeable build-ups add materials and labour.
- Access. A drive you can only reach by barrowing everything through a narrow side gate takes longer.
- Edging, kerbs and steps. Extra kerb lines, retaining edges and level changes all add up.
Cheaper is rarely better value here. The saving on a thin sub-base disappears the first winter the drive starts to rut.
Maintenance and how long it lasts
One of the best things about block paving is how little it asks of you. A well-built drive should comfortably last 20 years or more, and often much longer, before it needs any real attention. Keeping it at its best is straightforward:
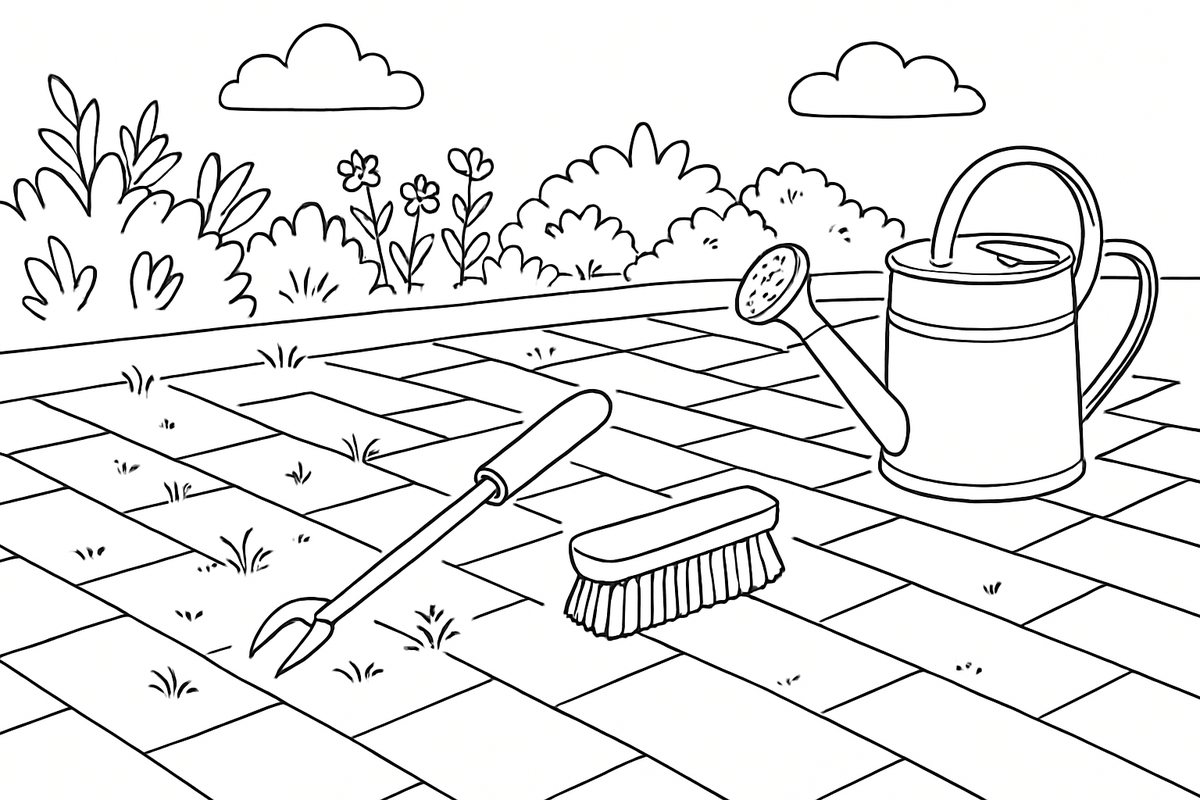
- Sweep and weed. Pull or treat weeds early, before they establish. Weeds grow in the sand between the blocks, not up through them, so keeping the joints full of sand is your best defence.
- Re-sand the joints. Over the years, kiln-dried jointing sand washes out. Topping it up keeps the blocks locked together — a simple job with a bag of sand and a stiff brush.
- Clean gently. An occasional wash keeps algae and grime at bay. Go easy with a pressure washer: hold it at an angle and keep your distance, or you will blast out the jointing sand and pit the surface. Our guide on cleaning block paving and getting rid of weeds covers this in detail.
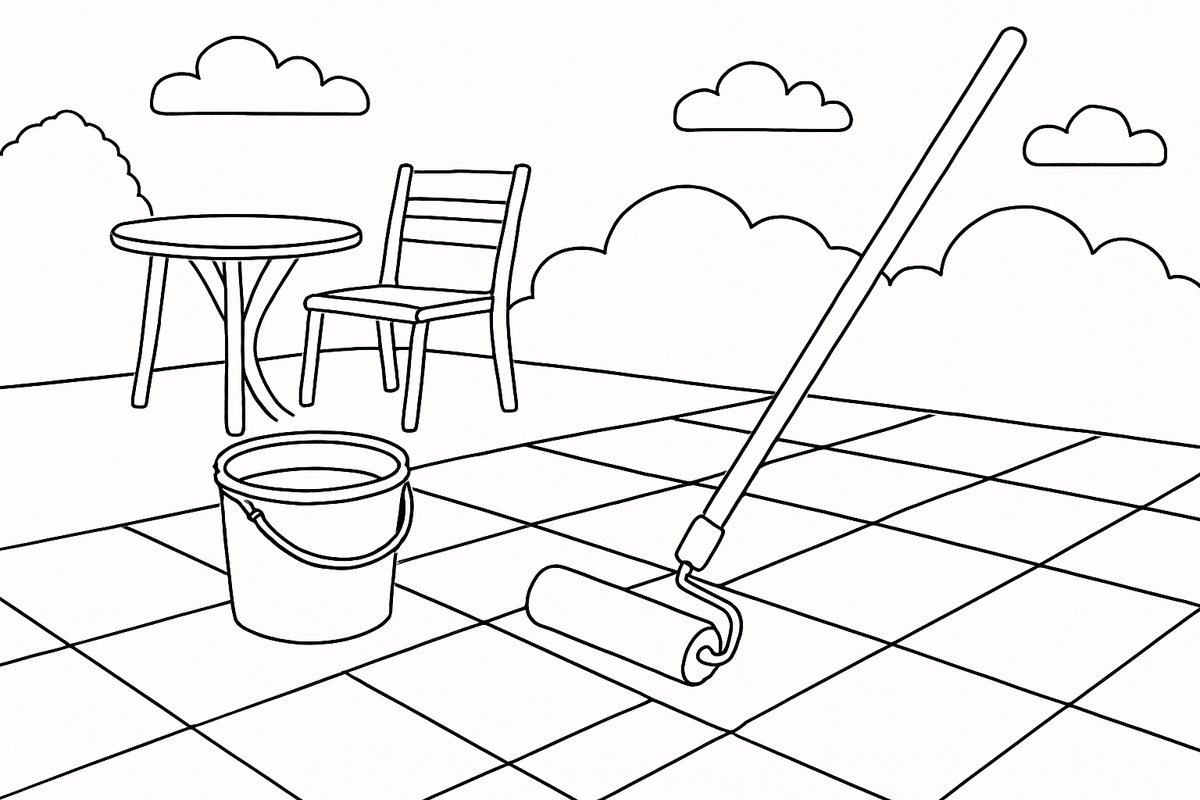
- Consider sealing. A block paving sealer can help resist stains, bind the joint sand and enrich the colour, though it is optional and needs redoing every few years.
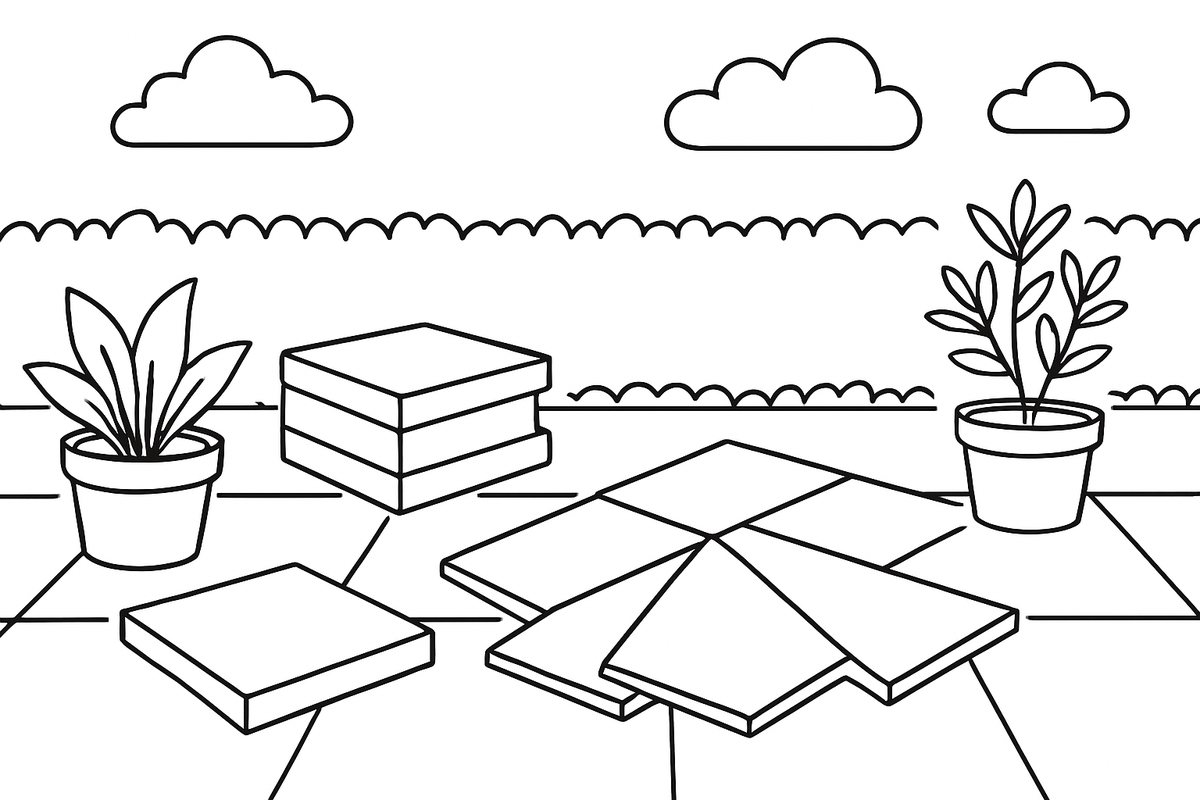
If a block does crack or pick up an oil stain, lift it out, clean up the bed and drop in a spare — which is exactly why it is worth keeping a few blocks back from the original job.
DIY or hire a professional?
A short path or a small patio panel in block paving is a realistic weekend project for a confident DIYer. A full driveway is a different matter. The excavation, compacting the sub-base in layers, getting the levels and falls right for drainage, cutting cleanly around drains and boundaries, and meeting the planning and SuDS rules all take the right tools and experience. Get the groundwork wrong and the drive sinks; get the drainage wrong and you have a puddle — or a planning problem.
For most homeowners, a driveway is a job worth having done properly once. A good installer will assess your ground, sort the drainage compliantly, and leave you with a surface that stays flat and true for decades.
Get a quote for your driveway
At 1st Builders Cambridge we design and lay block paving driveways, alongside our decking, patio and paving services, right across Cambridge and East Anglia. If you would like honest advice on patterns, materials, drainage and cost for your own drive, request a free, no-obligation quote — or give us a call on 01223 912222 and we will be happy to help.
Frequently asked questions
Do I need planning permission for a block paving driveway?
In England, if you lay more than five square metres of traditional impermeable block paving, you usually need to either drain the rainwater to a permeable area on your own property (such as a border or lawn) or apply for planning permission. If you use permeable paving, or the water soaks away within your own garden rather than running onto the road, it normally falls under permitted development and no permission is needed. If in doubt, check with your local council before you start.
How much does a block paving driveway cost in the UK?
As a rough guide only, a standard concrete block paving driveway supplied and fully installed typically costs around £90–£150 per m2, with premium, clay or permeable systems more like £140–£220 per m2. The final figure depends heavily on size, access, ground conditions, how much old surface has to be dug out, and any drainage works needed, so the only accurate price is a quote based on seeing your drive.
Which laying pattern is strongest for a driveway?
Herringbone, laid at 45 or 90 degrees, is the strongest pattern for driveways because the interlocking blocks resist the sideways forces of braking, turning and parking. Patterns like stretcher bond, basketweave and stack bond look attractive but are better suited to paths, patios and borders than to the main trafficked area of a drive.
How long does a block paving driveway last?
A properly installed driveway with a good compacted sub-base and firm edge restraints should last 20 years or more, often considerably longer. The key is the groundwork: most premature failures come from a skimped sub-base or weak edging rather than the blocks themselves. Occasional weeding, re-sanding the joints and a gentle clean will keep it in good shape.
How do I stop weeds growing between the blocks?
Weeds grow in the sand between the blocks, not up through them, so the best defence is keeping the joints full of kiln-dried jointing sand and topping it up as it washes out over the years. Pull or treat any weeds early before they establish, keep the surface swept, and consider sealing the paving, which helps bind the joint sand and slows regrowth.
Can I lay a block paving driveway myself?
A small path or patio panel is achievable for a confident DIYer, but a full driveway is a big undertaking. It involves deep excavation, compacting the sub-base in layers, setting accurate falls for drainage, installing firm edge restraints, and meeting planning and SuDS rules. Getting the groundwork or drainage wrong leads to sinking, puddles or compliance problems, so most homeowners are better off having a driveway installed professionally.