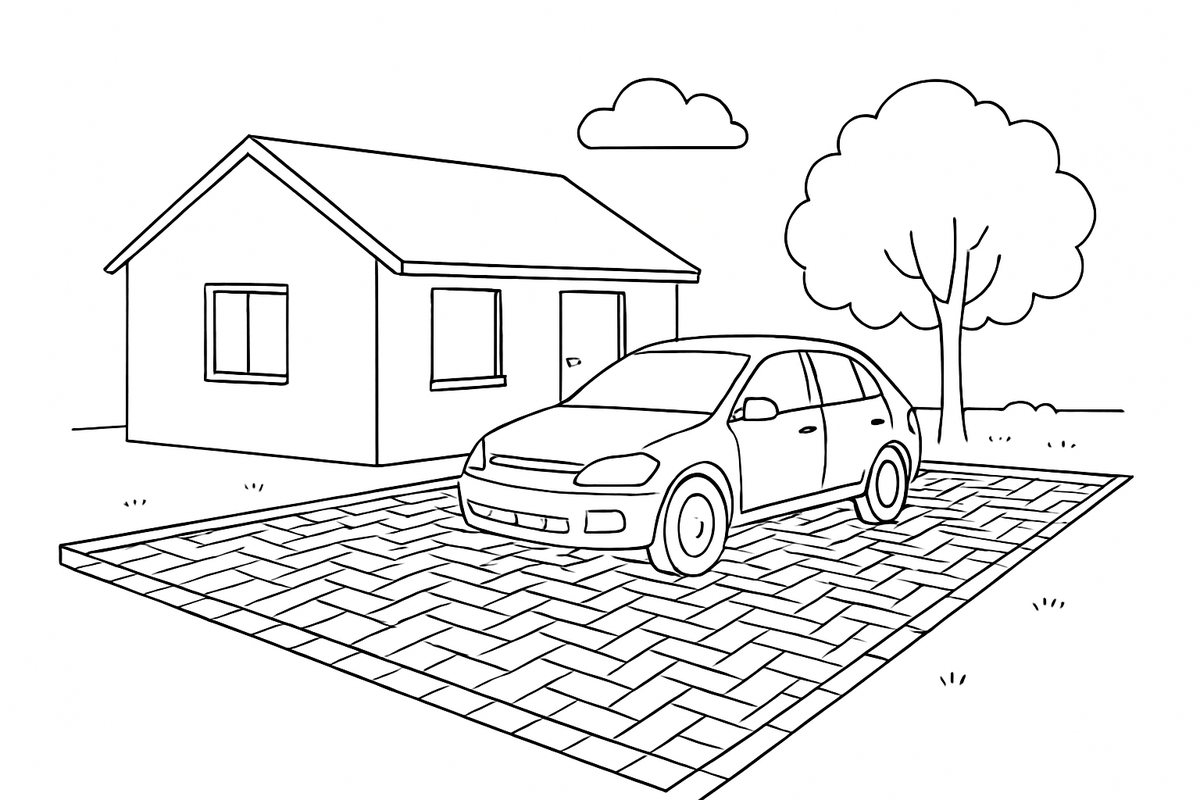
Few things age a driveway faster than tired, weed-ridden block paving. Green moss creeping over the surface, tufts of grass pushing up between the blocks, dark staining and a grubby film of grime can make a perfectly sound driveway look neglected. The good news is that restoring block paving is one of the more rewarding jobs you can tackle at home, and with the right method the transformation can be striking.
This guide walks you through the full process the way a professional would: clearing the weeds and moss, cleaning the surface properly, refilling the joints with kiln-dried sand, and — the part most people forget — stopping it all coming straight back. We will also settle a couple of common myths along the way, including the well-known washing-powder trick.
Why block paving turns weedy and dirty
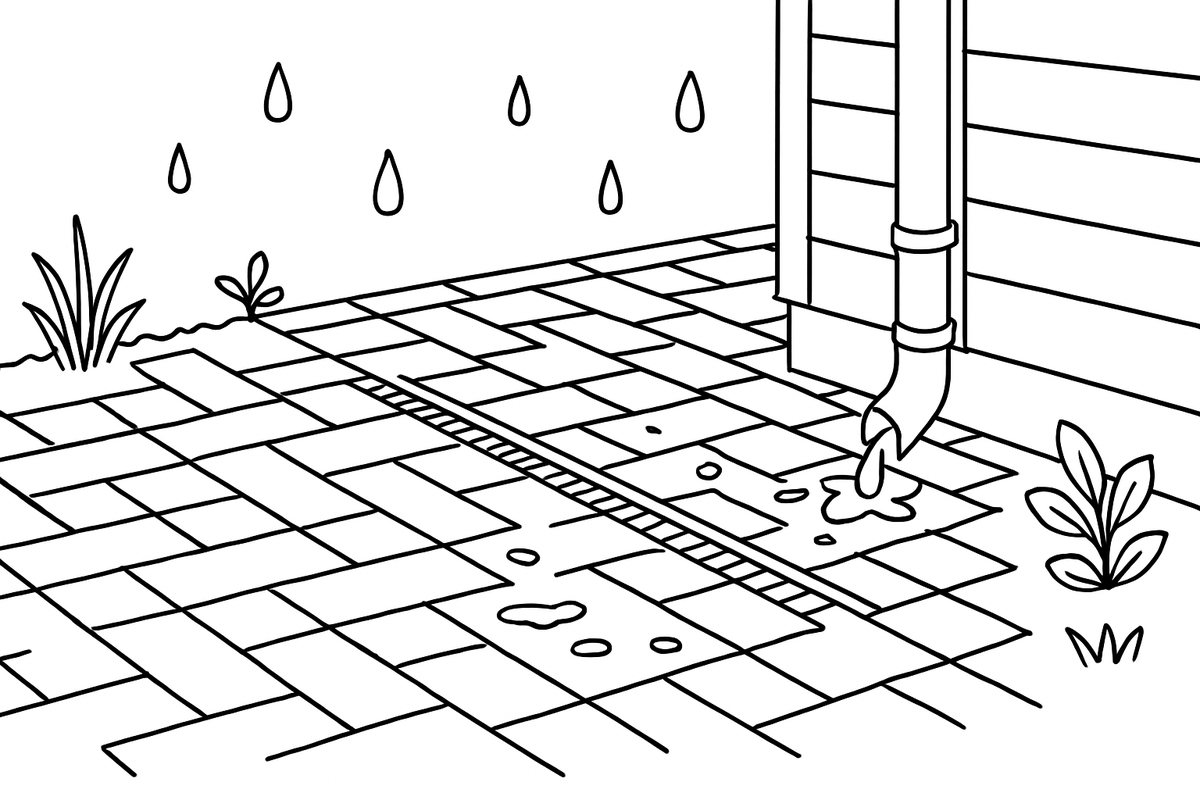
Block paving sits on a compacted bed of sand, with more sand brushed into the joints between each block. Those joints lock everything together, but they are also the vulnerable point. Over the years the jointing sand settles, gets washed out by heavy rain, or is blasted away by over-zealous pressure washing. Once the joints drop, small gaps open up — and windblown seeds, moss spores and airborne dirt drift straight into them.
Here is the part that surprises people: weeds on block paving almost never push up from the ground below. The blocks and the sub-base seal that off. Instead, seeds land on top, fall into the open joints and take root in the debris that gathers there. Grasp that, and long-term care becomes obvious — protect the joints and the weeds have nowhere to establish.
What you will need
- A stiff, hard-bristled broom or brush
- A weeding knife or an old flat-head screwdriver for stubborn tufts
- Washing-up liquid and a bucket of warm water for a basic clean
- A dedicated block paving cleaner or a moss and algae remover for tougher jobs
- A garden hose, or a pressure washer used with care
- Kiln-dried sand for refilling the joints afterwards
- Gloves, sturdy footwear and eye protection
Step 1: Clear the weeds and moss
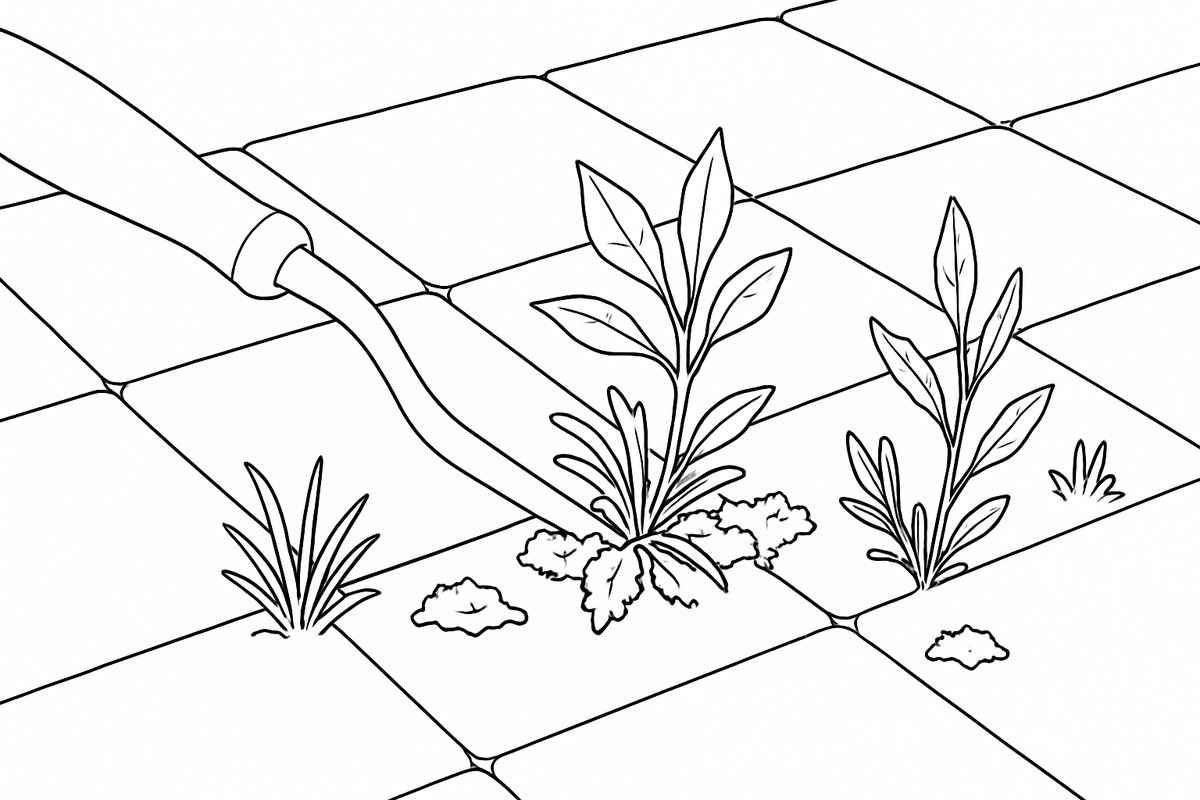
Always begin on a dry surface. Pull established weeds out by hand, taking as much root as you can, and run a weeding knife along the joints to lift out moss and grass. Be thorough — anything left behind will simply regrow within weeks.
If you prefer a chemical-free approach, a kettle of boiling water poured straight onto young weeds is remarkably effective and costs nothing. For heavier infestations, a purpose-made path and patio weedkiller applied on a dry, still day will kill the plant down to the root over a week or two. Rather avoid weedkiller altogether? Careful hand removal followed by good joint maintenance, covered below, does the job without any chemicals.
Dealing with moss
Moss thrives on damp, shaded, north-facing paving. Scrape off the worst with a stiff brush, then treat the area with a moss and algae remover or a diluted patio cleaner, leaving it to work for the time stated on the label before rinsing. Resist the temptation to simply blast the green off and call it a day; unless the spores are killed, it returns quickly.
Step 2: Clean the surface
For everyday grime you genuinely do not need anything special. A squirt of washing-up liquid in a bucket of warm water, worked in with a stiff brush, lifts a surprising amount of dirt. Clean in sections and angle your brush strokes across the blocks at roughly 45 degrees rather than dragging along the joint lines — this disturbs less of the jointing sand and keeps more of it in place. Rinse each section with clean water before it dries, steering the run-off towards a drain, border or lawn.
For ingrained dirt, algae or oil, move up to a dedicated block paving or driveway cleaner and follow the dilution and dwell-time instructions to the letter. One firm warning: steer clear of strong acid-based cleaners unless a product is made specifically for your type of paving and you know precisely how to use it. Acids can burn into the face of concrete blocks, leach out the colour and cause lasting harm. If you are unsure, always test on an out-of-the-way corner first.
Tackling specific stains
- Oil and grease: soak up fresh spills at once with cat litter or dry sand, then treat with a purpose-made oil and grease remover. Old, set-in stains are stubborn and may never lift completely.
- Rust marks: usually left by metal furniture or garden tools; reach for a rust remover formulated for stone rather than a household product.
- Black spot (lichen): those persistent dark, ingrained dots are lichen, not ordinary dirt. They call for a dedicated black spot remover and a little patience — a pressure washer on its own will not shift them.
Step 3: Should you use a pressure washer?
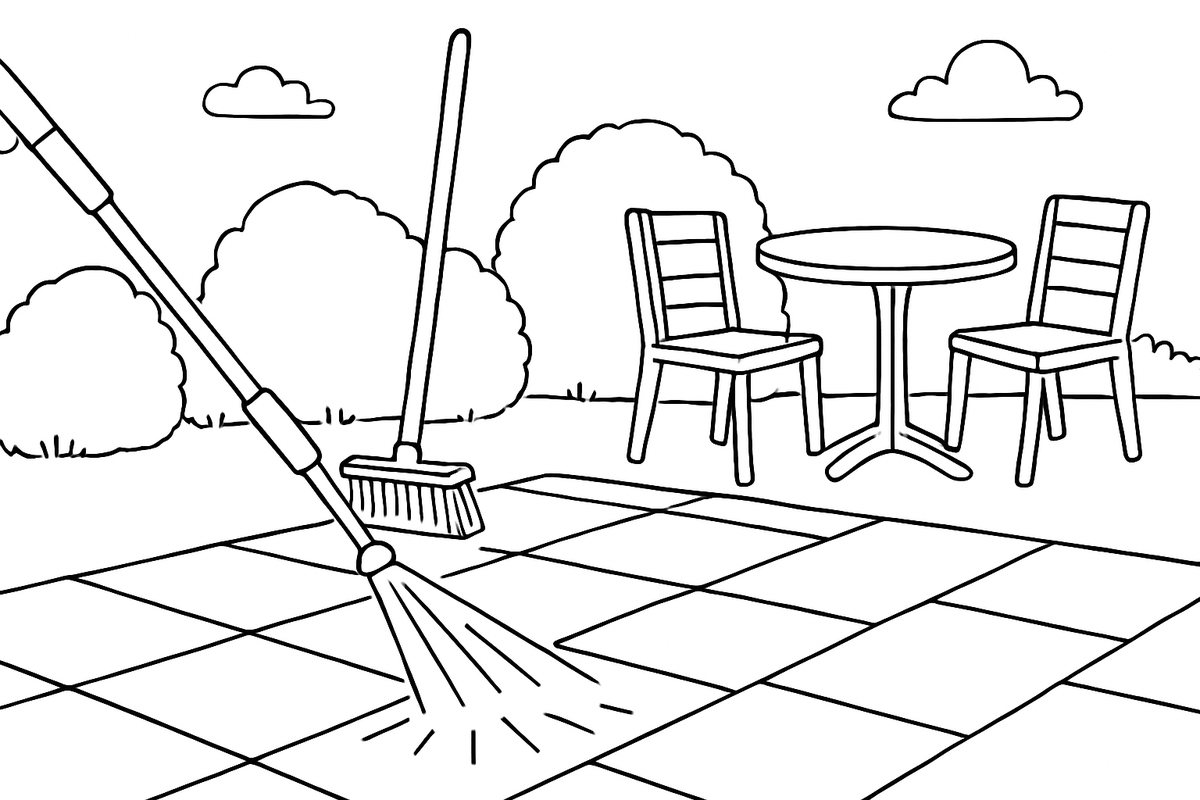
A pressure washer is the quickest way to clean a large driveway, and for heavily soiled paving it is hard to beat. It is also the most common cause of self-inflicted damage, so a few ground rules matter:
- Keep the lance moving and hold it at a shallow angle — never aimed straight down into a joint at close range.
- Hold a sensible working distance from the surface, roughly 20–30cm, and ease off the highest settings on older or coloured blocks.
- Expect to wash out plenty of jointing sand. That is normal, which is exactly why re-sanding afterwards is not optional — treat it as part of the job.
- Avoid a turbo or rotary nozzle up close on decorative blocks unless you are experienced with one, as it can score the surface.
No pressure washer? A hose fitted with a decent trigger nozzle and a bit of elbow grease will still deliver very good results on all but the filthiest driveways.
Step 4: Re-sand the joints with kiln-dried sand
This is the step most people skip — and the one that does the most to keep your paving looking good for longer. Once the surface is clean and, crucially, completely dry, the joints need refilling.
Reach for kiln-dried sand and nothing else. It is a fine, bone-dry sand that pours freely and travels deep into the joints. Do not be tempted by builder's sand, sharp sand or silver sand as a substitute — they are either too coarse or hold too much moisture, they will not settle cleanly into the gaps, and any dampness invites the very weed and moss growth you are working to stop.
- Pick a dry spell so the paving and the sand are both thoroughly dry.
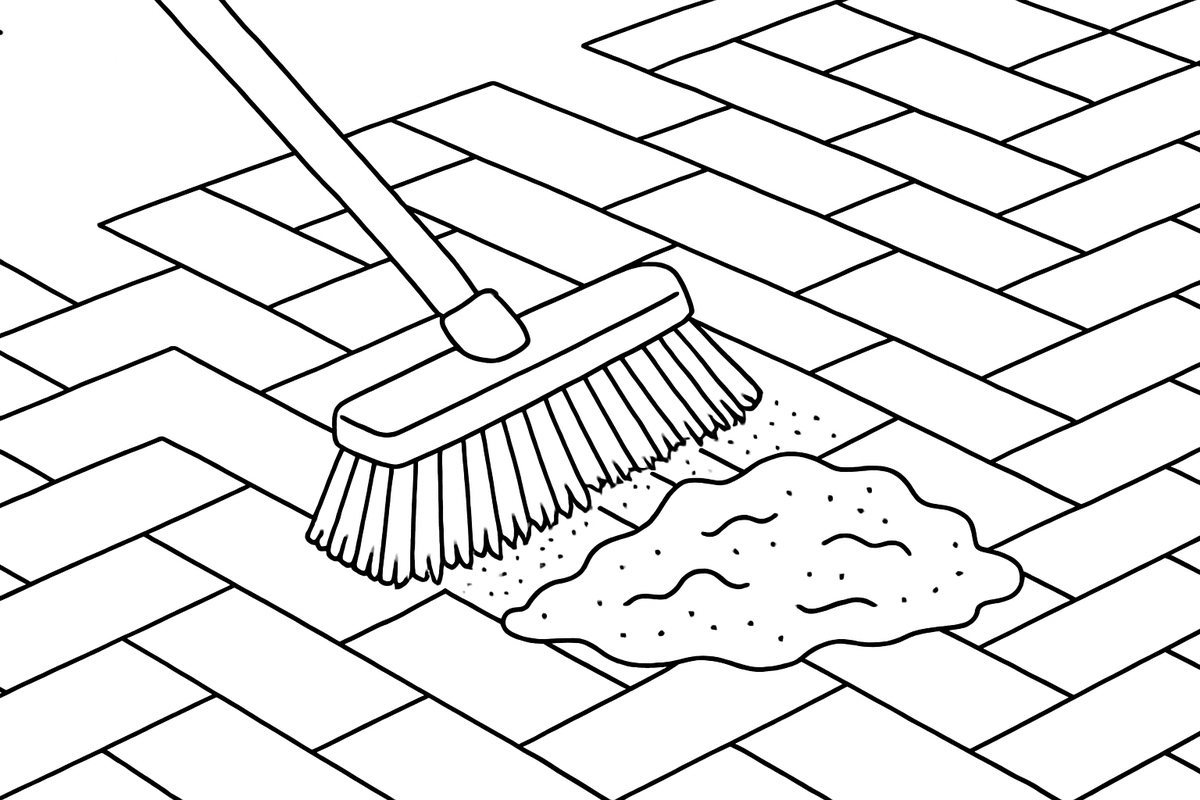
- Tip the kiln-dried sand out across the surface in small heaps.
- Work it in with a soft broom, sweeping back and forth from several directions until every joint is filled to just below the top of the blocks.
- If you have access to one, pass a vibrating plate compactor over the area — with a rubber mat to protect the blocks — to settle the sand, then top up any joints that have dropped.
- Sweep off every trace of surplus sand so none is left sitting on the surface.
Well-packed joints lock the blocks together, hold the driveway firm and leave far less room for seeds to settle. It really is worth taking the time to do it properly.
The washing-powder myth: does it actually work?
Plenty of people online swear by biological washing powder scattered between the blocks to see off weeds. So does it work? Up to a point — though not for the reason most assume.
Washing powder is not a weedkiller. What seems to happen is that a dry layer packed into the joints creates a salty, alkaline, moisture-sapping environment that young weeds and moss struggle to get going in, a bit like the effect of dry kiln-dried sand. Some people report a decent result; others notice nothing. It is hit and miss, it can leave a chalky residue, and the phosphates and detergents washing off into borders and drains are no friend to nearby plants or local watercourses.
Our honest take: it is a folk remedy, not a dependable method. Thorough weeding, dry kiln-dried sand firmly packed into the joints, and — if you want belt-and-braces protection — a proper sealer will always outperform the washing-powder shortcut. Keep the biological powder for the laundry.
Step 5: Seal the paving to prevent regrowth (optional but effective)
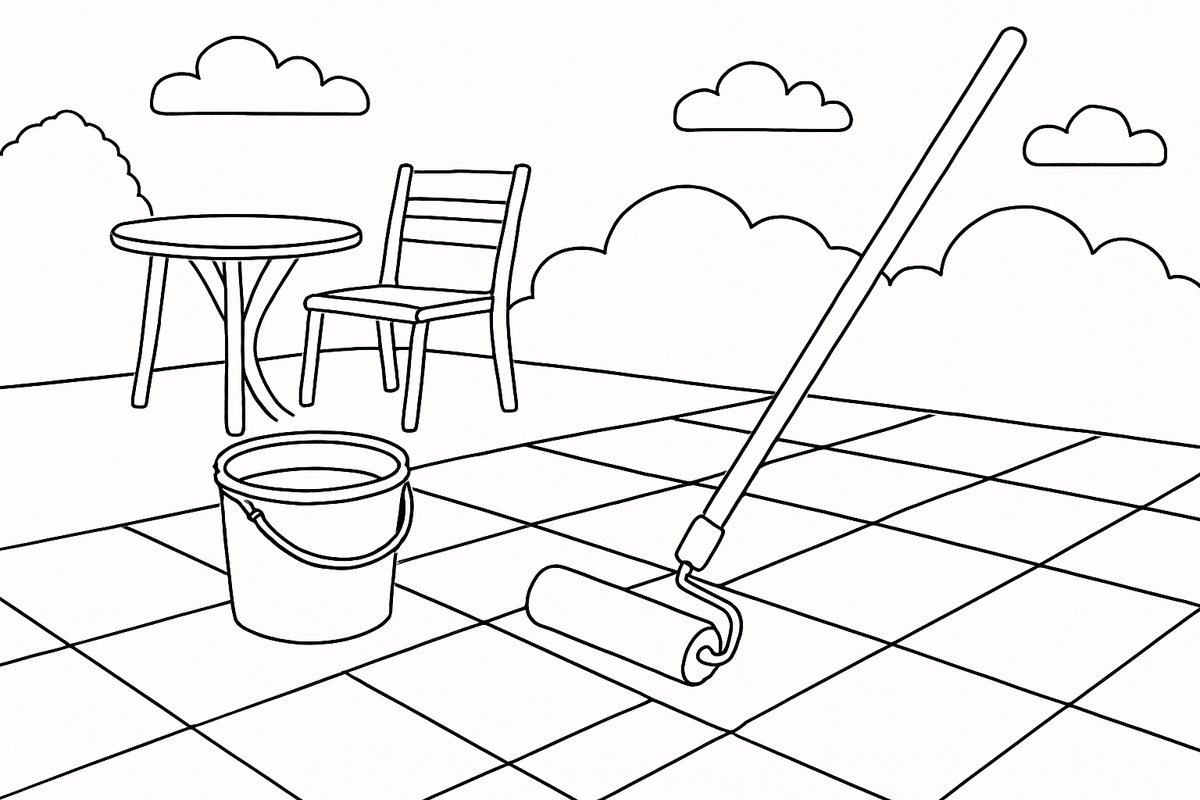
If you want your driveway to stay clean with the least ongoing effort, sealing is the single most effective thing you can do once it is cleaned and re-sanded. A block paving sealer soaks into the jointing sand and binds it into a firm, water-resistant layer. That achieves two things at once: it stops the sand washing out, and it removes the loose, damp foothold that weeds and moss rely on.
Sealers come in matt (natural-look) and wet-look finishes, and most also help resist oil staining and colour fade from the sun. They go on best over clean, dry, freshly re-sanded paving on a dry day with a settled forecast behind it. A sealer typically needs re-applying every few years to keep working. As a rough guide, doing it yourself, the materials to seal a driveway generally cost in the region of £4–£8 per square metre, plus your time.
For a fuller rundown of finishes, application and whether it is worth it for your paving, see our detailed guide on how to seal a patio and block paving.
Keeping block paving clean long term
A little regular attention beats an annual deep clean every time. To stay ahead of it:
- Sweep the paving often to clear the leaves and organic litter that weeds germinate in.
- Tackle small weeds and moss the moment you spot them, before they get a foothold.
- Top up the kiln-dried sand whenever you notice a joint dropping.
- Give the whole area a light wash once or twice a year, and re-apply sealer as needed.
- If shaded areas tend to turn green, an occasional preventative moss and algae treatment keeps them in check.
Caring for driveways and paving goes hand in hand with looking after the rest of your outdoor space — if you have slabs as well, our guide to how to clean a patio covers algae, black spots and green mould on paving slabs in the same practical detail.
When to call in a professional
Cleaning and re-sanding block paving is well within reach for most homeowners with a free weekend. That said, there are times when bringing in a specialist makes sense:
- The blocks are sinking, rocking or drifting apart — a sign of a failed sub-base or edging rather than dirty joints, and something that needs proper repair.
- There are large areas of deep-seated black spot or oil staining that home methods will not budge.
- The driveway is large and you want it cleaned, re-sanded and sealed to a professional finish in one visit.
- You are weighing up a fresh installation because repair is no longer worthwhile.
If your paving has shifted or worn out rather than simply got dirty, it may be time to think about relaying or replacing it. Our team handles everything from a one-off restoration clean to a full new installation as part of our decking, patio and paving services.
Ready to bring your driveway back to life?
Whether you want a professional deep clean and re-sand, a paving repair, or a brand-new driveway, 1st Builders Cambridge covers Cambridge and the wider East Anglia area with honest advice and quality workmanship. Get a free, no-obligation quote today, or call us on 01223 912222 and we will happily talk through the best option for your paving.
Frequently asked questions
What is the best thing to clean block paving with?
For everyday grime, warm water with a squirt of washing-up liquid and a stiff brush works well. For algae, moss or ingrained dirt, use a dedicated block paving or driveway cleaner and follow the dwell-time instructions. Steer clear of strong acid-based cleaners, which can burn and discolour the blocks.
How do I stop weeds growing back in block paving?
Weeds grow in the joints, not up from below, so joint maintenance is the answer. Remove existing weeds thoroughly, refill the joints with dry kiln-dried sand, and consider sealing the paving. A sealer binds the sand into a firm layer that leaves weeds and moss nowhere to root. Regular sweeping to clear debris helps too.
Does washing powder really kill weeds on block paving?
Not reliably. Washing powder is not a weedkiller; a dry layer in the joints seems to create conditions young weeds struggle to establish in, much like dry kiln-dried sand. Results are inconsistent and the run-off is poor for nearby plants. Proper weeding, kiln-dried sand and sealing work far better.
What sand should I use to re-sand block paving?
Always use kiln-dried sand. It is very fine and dry, so it pours freely and settles deep into the joints. Avoid builder's sand, sharp sand or silver sand — they are too coarse or too damp, will not fill the joints properly, and any dampness actually encourages moss and weed growth.
Can I use a pressure washer on block paving?
Yes, but with care. Keep the lance moving and angled rather than blasting straight into the joints, hold it around 20–30cm from the surface, and avoid the highest settings and turbo nozzles on decorative or older blocks. Pressure washing removes a lot of jointing sand, so re-sanding with kiln-dried sand afterwards is essential.
How often should I clean my block paving driveway?
A light wash once or twice a year, plus dealing with small weeds and moss as soon as they appear, keeps most driveways looking good. Top up the kiln-dried sand whenever joints drop, and re-apply sealer every few years. Sealed, well-maintained paving needs far less deep cleaning than neglected paving.