A freshly cleaned patio or driveway looks fantastic — for a while. Then the weeds creep back into the joints, the odd oil spot appears, and the colour slowly fades under the British weather. Sealing is one way to hold that "just laid" look for longer, but it isn't right for every surface, and it's easy to get wrong.
This guide explains, in plain terms, what a patio sealer actually does, the finishes you can choose from, how to apply one properly, and — the question everyone really wants answered — whether sealing a patio or block paving is genuinely worth the money and effort.
What does sealing a patio actually do?
A sealer either soaks into your paving or forms a thin film over it, changing how the surface copes with water, dirt and organic growth. It won't make paving indestructible, but a good product does several useful things at once:
- Repels water, oil and stains. Barbecue grease, spilled wine or a drip from the car sit on top of a sealed surface, giving you time to wipe them away before they soak in.
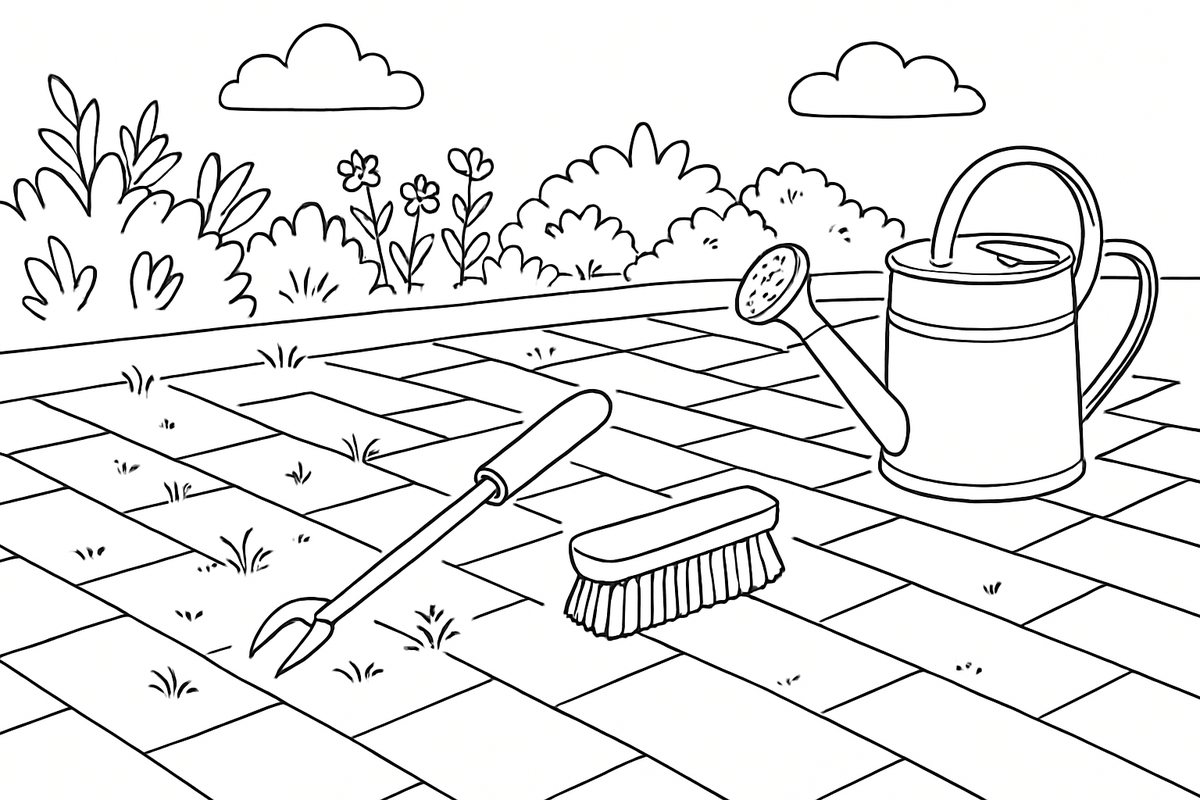
- Slows moss, algae and weeds. By closing off the porous surface and firming up the jointing sand, a sealer makes it much harder for green growth and weeds to take hold between slabs and blocks.
- Holds kiln-dried sand in place. On block paving, a sealer binds the sand in the joints so it isn't washed out by heavy rain or dragged away by a pressure washer.
- Protects the colour. Sunlight and rain gradually leach colour from concrete and natural stone. A sealer slows that fading and, depending on the finish, can deepen the tones.
- Makes cleaning easier. Dirt rests on the surface rather than working its way in, so a quick brush or gentle wash keeps things looking tidy.
What a sealer won't do is rescue a badly laid patio, disguise cracks, or stop weeds pushing through from below when the sub-base is poor. It's a protective finish, not a structural repair.
Should I seal my patio? The honest pros and cons
Sealing is entirely optional. Plenty of patios and driveways last for decades without it. Before you commit a weekend and a few hundred pounds, it's worth weighing both sides.
The case for sealing
- Less weeding and moss, and easier cleaning throughout the year.
- A richer, smarter colour — especially noticeable on sandstone and grey concrete.
- Better stain resistance on driveways, where oil, salt and tyre marks are in play.
- Jointing sand stays put on block paving, so the surface keeps its shape.
The case for caution
- It needs redoing. Most sealers hold up for roughly two to five years before a fresh coat is due, so it's an ongoing commitment rather than a one-off.
- Get it wrong and it looks worse than bare paving. Laid on too thickly, over a damp surface, or in the wrong weather, a sealer can turn patchy, cloudy or blotchy.
- Some finishes are slippery when wet — worth a thought on steps, slopes and shaded paths.
- Certain materials gain little from it. Fully vitrified porcelain paving, for instance, is almost non-porous already, so sealing the face of the slab is usually pointless (though you may still seal the joints).
As a rule of thumb, sealing pays off most on porous concrete block paving and natural stone that tends to stain, weed or turn green. On dense, low-maintenance surfaces, the benefit is far smaller.
Types of patio and block paving sealer
Sealers are usually described in two ways: by their base, which shapes the smell, safety and durability, and by their finish, which shapes how the paving looks. Both are worth understanding before you buy.
By base: water-based or solvent-based
- Water-based sealers. Low odour, straightforward to apply, and gentler around plants and pets. For most homeowners tackling a patio themselves, this is the sensible starting point.
- Solvent-based acrylic sealers. A common choice on block paving driveways. They soak in well and grip the joint sand firmly, often leaving a light sheen, but they give off strong fumes during application and need plenty of ventilation.
- Polyurethane sealers. Tough and hard-wearing, chosen where durability really matters. They tend to cost more and are less forgiving to apply.
By finish: matt or wet-look
- Matt / natural finish. Protects the surface while keeping it close to its original, dry appearance. The safe pick if you're unsure — it rarely looks "treated".
- Satin / low-sheen. A gentle lift in colour with a faint sheen; a middle ground between natural and glossy.
- Wet-look / gloss. Deepens colours dramatically, as though the paving is permanently damp. It looks striking on riven sandstone and dark blocks, but shows wear and streaks more readily and can be slippery — so trial it before committing to a large area.
Always try a test patch in an out-of-the-way spot first. Different stones react differently, and a wet-look finish in particular can turn out far more (or less) dramatic than the tin suggests.
When to seal: new paving versus old
Timing matters as much as the product itself.
- New paving. Don't rush it. Fresh concrete blocks and mortar need time to cure and to release efflorescence — the powdery white salt bloom that surfaces on new paving. A widely used guide is to wait around two to three months after laying, so those salts can rise and rinse away. Seal over them and you lock them in, leaving a cloudy result.
- Older paving. This is often where sealing delivers the most visible transformation, because a proper clean followed by a seal can revive a tired, mossy surface. The key is cleaning it thoroughly and letting it dry completely first.
- Previously sealed paving. Proceed carefully. A fresh sealer may not bond to an existing sealed layer and can lift, peel or flake. If you're not certain whether the paving was sealed before, test a small area or check with the manufacturer before treating the lot.
How to seal a patio or block paving, step by step
The single most important principle: a sealer only performs as well as the preparation beneath it. Rushing the cleaning and drying is the number-one reason results disappoint.
1. Clean thoroughly
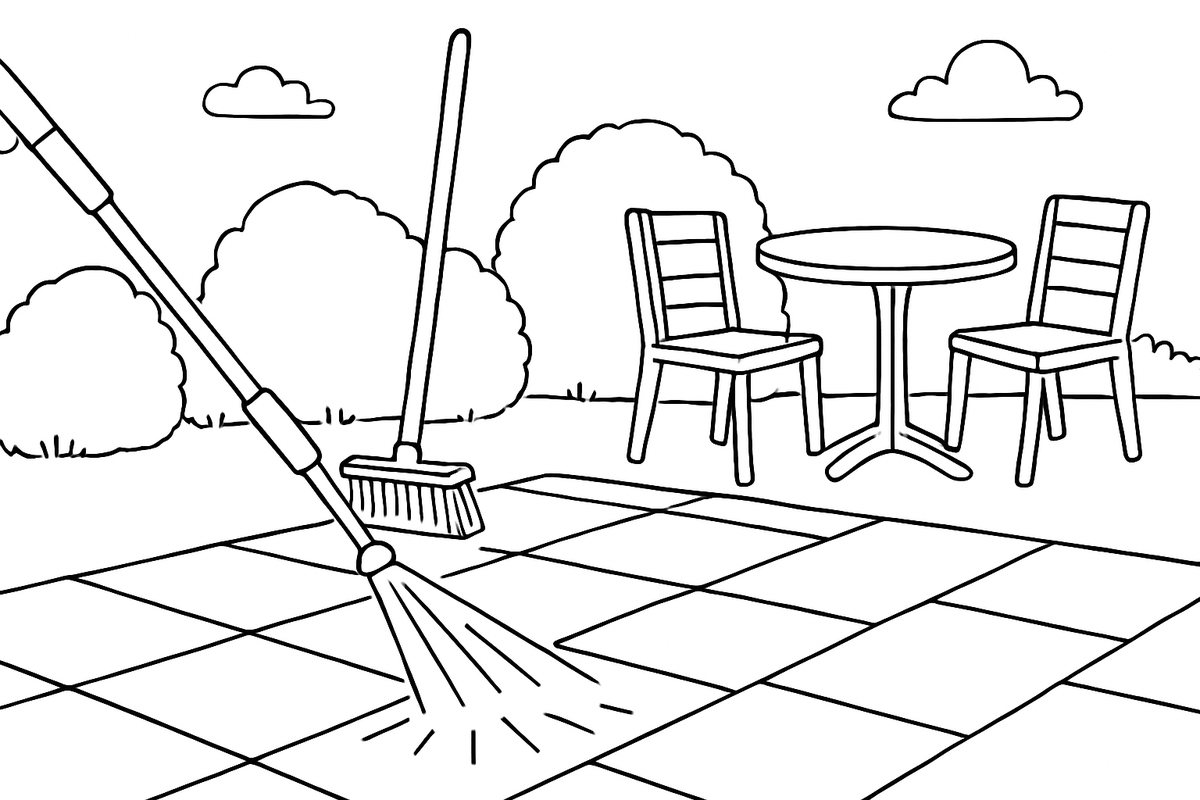
Move furniture and pots aside, then clear all dirt, moss, algae, weeds and loose debris. A stiff brush and a dedicated patio cleaner will handle most of it; a pressure washer is quicker but can flush out jointing sand. For the full method, see our guides on how to clean a patio and how to clean block paving and get rid of weeds.
2. Re-sand the joints (block paving only)
Once block paving has been cleaned, the joints will almost always need topping up. Brush fresh kiln-dried sand into every joint until it's full, working it in with a soft broom. The sand must be bone dry — the sealer will lock it in place, so it needs to be right before you start.
3. Let it dry completely
This step can't be hurried. After cleaning, let the surface dry right through — often several days of dry weather, and longer still after a pressure wash. Sealing over damp paving traps moisture and produces a milky, blotchy finish that's a real job to put right. Check the forecast and make sure no rain is due for at least 24 hours after you finish.
4. Pick your day and watch the weather
Aim for a dry, mild, overcast day. Steer clear of strong direct sun (which can make the sealer flash off too fast), avoid frost, and never seal with rain on the way. Stick to the temperature range printed on the product instructions.
5. Apply the sealer
- Work in manageable sections so you can keep a "wet edge" and avoid overlap marks.
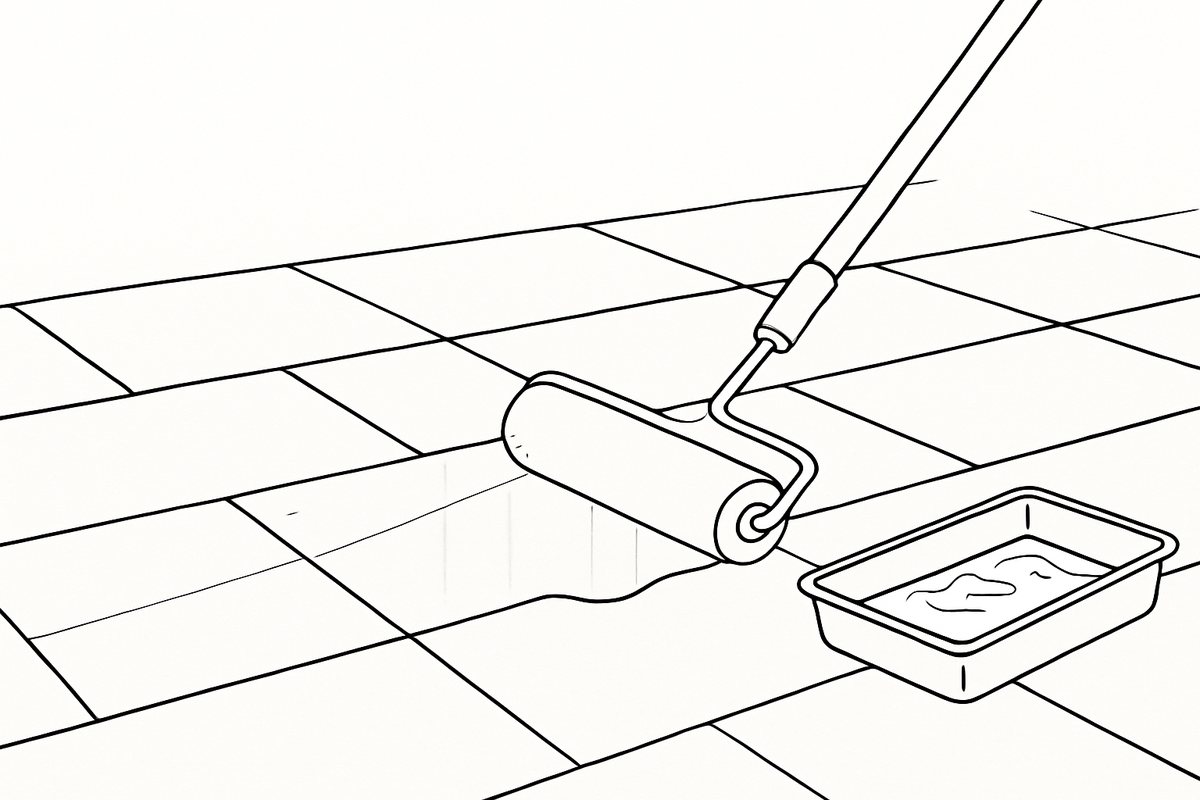
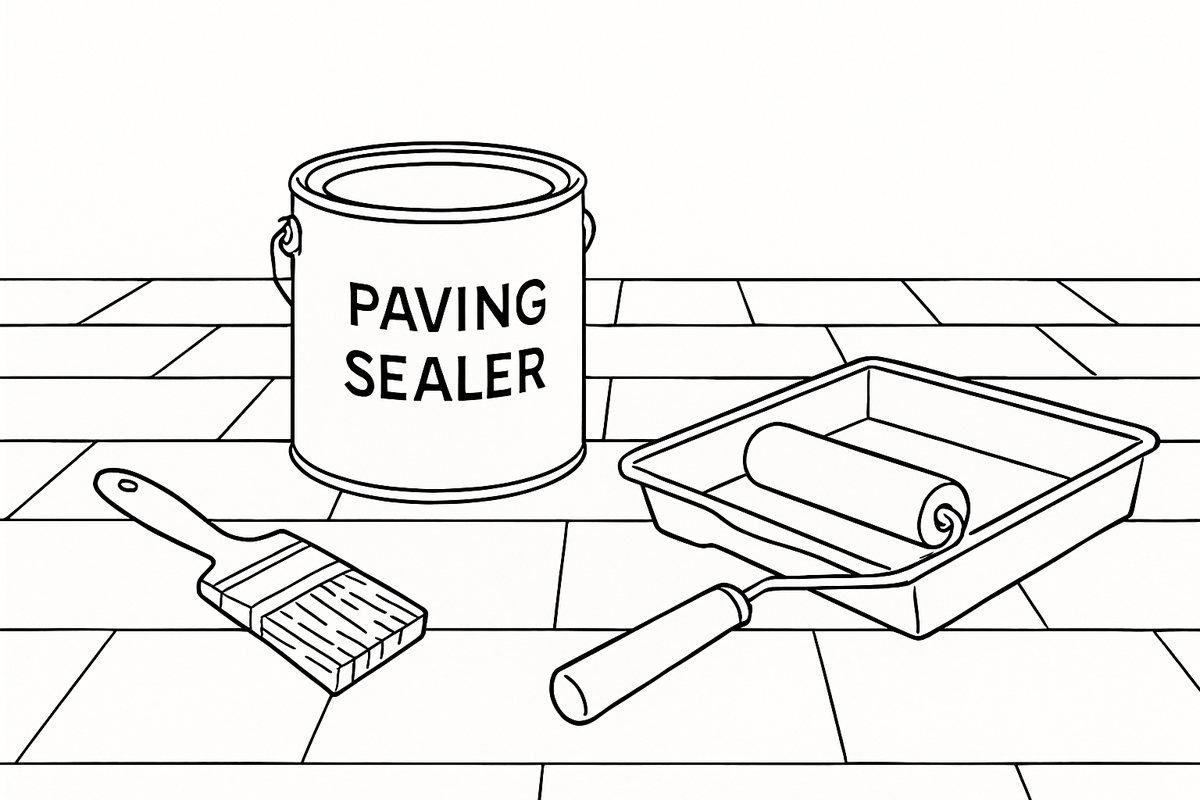
- Apply thin, even coats. Depending on the product, that might mean a long-pile roller, a brush, or a spreader for sand-binding sealers on block paving. A brush helps push sealer into textured stone.
- Thin coats beat one thick coat. Puddling and over-application are exactly what cause a patchy, plasticky sheen. Two light passes almost always look better than one heavy one.
- Follow the coverage rate on the tin — porous stone drinks far more sealer than dense concrete.
6. Let it cure and stay off it
Most sealers are touch-dry within an hour or two and walkable after several hours, but full curing takes longer. As a general guide, keep foot traffic light for a day and keep vehicles off a sealed driveway for at least 24 to 48 hours. Whatever the tin says takes priority over any rule of thumb.
How much does sealing cost?
Costs vary with the product, the finish, and whether you do it yourself or bring in a professional. As a rough guide only:
- DIY materials. A quality sealer typically works out at around £3–£8 per square metre, plus cleaner and kiln-dried sand. A modest patio can often be sealed for well under £100 in materials.
- Professional clean and seal. Having a driveway or patio professionally cleaned, re-sanded and sealed usually lands somewhere around £10–£25 per square metre, depending on condition, access and the finish you choose.
Because a seal needs refreshing every few years, build that repeat cost into your thinking. Treat these as ballpark figures — for an accurate price it's always best to get a survey and quote for your own surface. If you're planning new paving from scratch, our guide to how much a patio costs in the UK sets sealing in the context of the wider budget.
Is sealing a patio worth it? The verdict
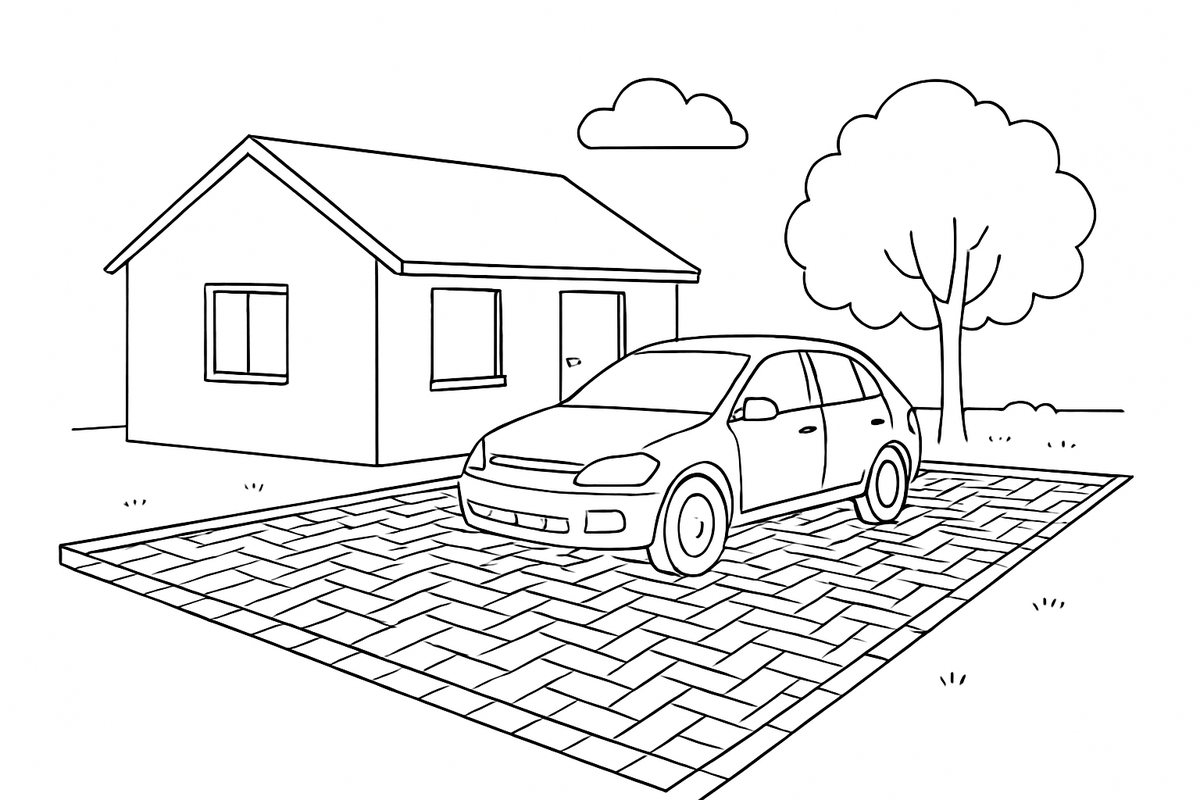
For most homeowners, sealing earns its keep when three things line up: the surface is porous (concrete blocks, sandstone, limestone), it's exposed to staining or heavy green growth, and you value a smarter look with less ongoing upkeep. Block paving driveways are the classic candidate, because a seal keeps the joint sand in and holds weeds at bay.
It makes less sense on near-non-porous surfaces such as fully vitrified porcelain, on paving in deep shade where a glossy finish would be slippery, or where you're simply happy with the natural, weathered look. There's no wrong answer here — an unsealed patio is perfectly fine, it just asks for a little more regular cleaning.
If you'd rather not spend a dry weekend on your knees with a roller — or your paving is old, previously sealed, or valuable natural stone where mistakes are costly — this is a job well worth handing to a professional who can clean, prepare and seal it correctly first time. You'll also want a professional if the paving itself needs relaying first, since no sealer can rescue a failing sub-base. Take a look at our decking, patio and paving services to see how we can help.
Get expert help in Cambridge & East Anglia
Whether you want a tired patio cleaned and sealed, a driveway restored, or brand-new paving laid and protected properly from day one, 1st Builders Cambridge can help. We work across Cambridge and East Anglia and are always happy to take a look and advise honestly on whether sealing is right for your surface. Call us on 01223 912222 or get a free, no-obligation quote — no pressure, just practical advice.
Frequently asked questions
Should I seal my patio or leave it natural?
It's optional. Sealing is most worthwhile on porous surfaces such as concrete blocks and natural stone that suffer from staining, moss or weeds, and where you want a smarter look with less cleaning. If you don't mind a natural, weathered appearance and are happy to clean regularly, an unsealed patio is perfectly fine.
How long should I wait before sealing a newly laid patio?
As a general guide, wait around two to three months after laying. That gives the concrete and mortar time to cure and lets efflorescence — the white salt bloom — work its way out. Sealing too soon can trap those salts and leave a cloudy finish.
What's the difference between matt and wet-look sealer?
A matt or natural sealer protects the surface while keeping it close to its original dry appearance. A wet-look or gloss sealer deepens the colours dramatically, as if the paving is permanently damp. Wet-look is striking but shows wear and streaks more easily and can be slippery, so always trial it on a small area first.
How often does patio and block paving sealer need reapplying?
Most sealers last roughly two to five years before a fresh coat is due, depending on the product, the finish, foot and vehicle traffic, and the weather. It's an ongoing job rather than a one-off, so factor the repeat cost in when deciding whether sealing is worth it.
Can I seal block paving that has been sealed before?
Proceed carefully — a new sealer may not bond properly to an existing sealed layer and can peel or flake off. If you're not sure whether your paving was sealed before, test a small hidden area first or check with the manufacturer before treating the whole surface.
Do I need to seal porcelain paving?
Usually not. Fully vitrified porcelain is almost non-porous, so sealing the face of the slab has little benefit. You may still choose to seal the joints to help resist weeds, but the slabs themselves generally don't need it.