A well-placed garden path earns its keep in more ways than one. It sets the route you take through the space, spares the lawn from muddy shortcuts, keeps you sure-footed on frosty mornings, and quietly pulls the whole plot together. Whether you picture a crisp walk to the front door or a route that wanders through the borders, the right path can lift an ordinary garden.
This guide runs through the most popular garden path ideas and materials, then shows you how to lay a simple path yourself — covering the edging, drainage and rough costs worth budgeting for. If you would sooner hand the heavier work to a team, we also cover professional decking, patio and paving services across Cambridge and East Anglia.
Start with the job the path has to do
Before you settle on a look, be honest about how the path will really be used. A few straight answers here save a lot of second-guessing later.
- Purpose: Is this a daily route you will use in every kind of weather, or a decorative stroll through planting? A working run to the bins or shed wants a firm, all-weather surface; a ramble through a border can be looser and more relaxed.
- Width: As a rough guide, allow around 60cm for one person, and 90cm–1.2m if two should pass side by side or you need to wheel a barrow, mower or pram along it.
- Shape: A dead-straight run reads as tidy and deliberate, and suits front gardens and kitchen plots. A path that curves feels easier and more welcoming, and can hide the true length of a narrow garden while holding a little back for you to discover.
- Slope and drainage: Watch where water lingers after heavy rain. Every path wants a slight fall so surface water sheds away rather than sitting or freezing.
A trick that costs nothing: mark the route out with a hosepipe or a length of rope and live with it for a few days. Walk it, wheel the bin down it, and tweak the line before you lift a single sod.
Garden path materials compared
Most of a path's character comes from the surface you choose. Here are the main garden path materials, with the pros and cons of each.
Gravel and shingle
A gravel path is among the most affordable and forgiving options, and it sits happily in everything from a cottage garden to a pared-back modern scheme. Pea shingle gives a soft, rounded look, while sharper angular gravel knits together and stays put underfoot. Gravel drains freely, goes down quickly over a compacted base and weed membrane, and gives that reassuring crunch that puts off unannounced callers.
The catch: without firm edging, loose stones wander onto lawns and into borders; it is harder going for a barrow or wheelchair; and it wants an occasional rake and top-up. For a firmer result, gravel can be locked into a bonded resin system (see below).
Paving slabs
Slabs give a solid, flat, low-maintenance surface that is easy to walk and wheel across. Natural stone such as sandstone or limestone brings warmth and texture; porcelain offers a sharp, contemporary finish that shrugs off stains and algae; concrete slabs are the wallet-friendly all-rounder. Match a slab path to your patio and the two read as one considered design rather than a pair of afterthoughts.
Slabs need a proper sub-base and are heavier work to lay well, which is why many people call in a professional for anything beyond a short run.
Block paving and brick
Clay or concrete blocks set in a herringbone or basket-weave pattern make a hard-wearing, characterful path that mellows nicely with age. Brick paths in particular carry a timeless, cottage-garden charm and can be curved to trace a border. Block paving takes regular foot traffic in its stride and, on the right base, lasts for decades. The trade-off is a more involved installation, plus keeping the jointing sand topped up and weeds at bay.
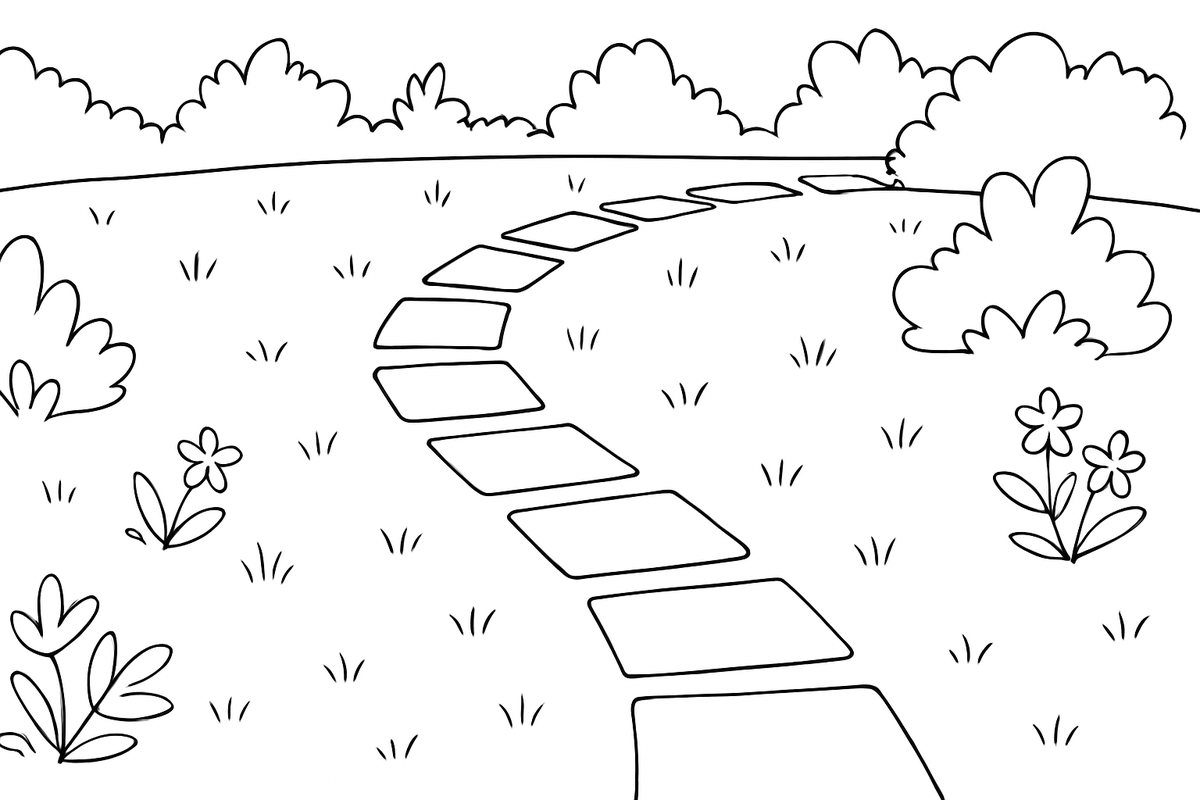
Stepping stones
A stepping stone path is the fastest, cheapest way to add a route across a lawn or through planting. Individual slabs, log rounds or setts are set a comfortable stride apart — roughly 60cm centre to centre — and bedded so each one sits flush with the surface around it. On a lawn, keeping each stone just below mowing height lets you run the mower straight over the top. Stepping stones look lovely threading through gravel, ground-cover planting or bark, but they are decorative rather than a genuine all-weather route.
Resin-bound and resin-bonded
Resin surfaces bind aggregate with a clear resin to give a smooth, seamless path with no loose stones. Resin-bound is the higher-grade, fully permeable finish; resin-bonded scatters stone over a resin layer for a slightly coarser texture. Both look clean and modern, drain well and wipe up easily. They sit among the pricier options, though, and must be laid on a sound existing base by an experienced installer — so this is not a DIY job.
Bark, wood chip and mown grass
For an informal woodland or wildlife garden, a bark or wood-chip path over weed membrane is cheap, soft underfoot and easy to lay yourself. It does rot down and want topping up every year or two. A simple mown path through longer grass or a mini-meadow is the most sustainable choice of all — no materials, just a mower — though it is seasonal and best saved for gentle, occasional use.
Design ideas to lift a plain path
The material is only half the story. These touches turn a plain walkway into a feature.
- Mix materials: Combine slabs with gravel infill, or run a course of bricks around a stone path, to add texture and definition for little extra outlay.
- Frame it with planting: Low, spreading plants such as thyme, lavender or catmint spilling over the edges make a new path look settled almost at once. Clipped box or a neat low border gives a more formal frame.
- Let it curve: A path that slips out of sight behind a shrub draws people onward and makes a small garden feel bigger than it is.
- Light the way: Recessed ground lights, low bollards or solar-powered stakes keep the path safe once it is dark and look lovely on a summer evening.
- Match the house: Reclaimed brick suits a period cottage; large-format porcelain suits a contemporary extension. Keeping materials in sympathy with the building always looks more thought-through.
How to lay a simple garden path, step by step
A short, straight path in gravel or bedded slabs is well within reach of a confident DIYer. Here is the sequence for a path on a compacted sub-base — the approach that gives the longest-lasting result.
- Mark out and dig. Set the route out with pegs and string, or a hosepipe for curves. Excavate to roughly 150mm deep for a footpath — deeper if the ground is soft or the path will take heavy use. Aim for a slight cross-fall of about 1:60 to one side so water drains away.
- Lay the sub-base. Add and compact around 100mm of MOT Type 1 hardcore. Compacting in layers with a hired plate compactor (a "wacker plate") is the single biggest factor in a path that stays flat rather than sinking.
- Add edging. Fit your edge restraint now — treated timber boards, brick or block on a mortar bed, or metal edging. Edging holds everything in place and gives a crisp finish (more on this below).
- Lay the surface.
- For gravel: roll a weed-control membrane over the sub-base, then spread around 40–50mm of gravel and rake it level.
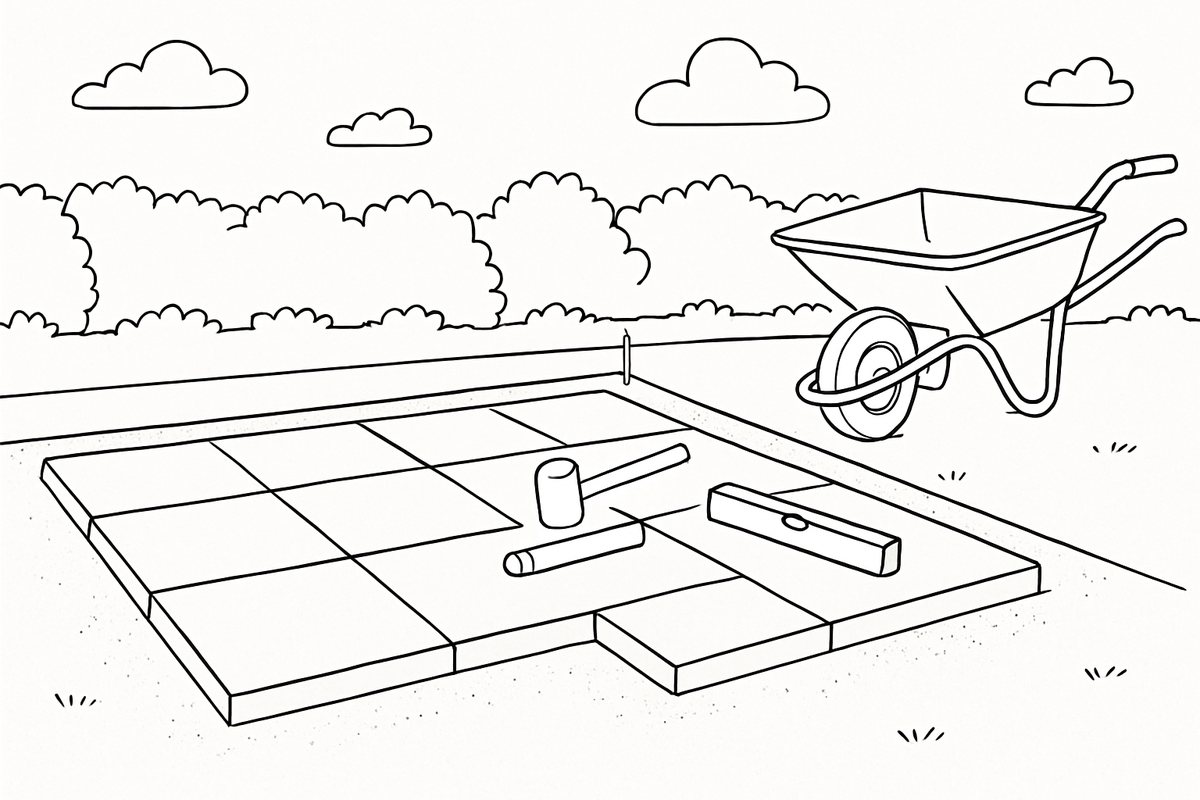
- For slabs or blocks: lay them on a bedding layer — a semi-dry mortar mix for slabs, or sharp sand for a block path — tapping each unit down with a rubber mallet and checking levels as you go.
- Joint and finish. Point slab joints with mortar or a proprietary jointing compound; brush kiln-dried sand into block-paving joints and compact. Let any mortar cure fully before heavy use.
Bedding heavy slabs or blocks on a full mortar base, cutting units to fit, and laying resin or a long run across awkward levels are the jobs where a professional finish really tells — and where mistakes are costly to undo. If in doubt, it is worth getting a quote.
Edging: the detail that makes or breaks a path
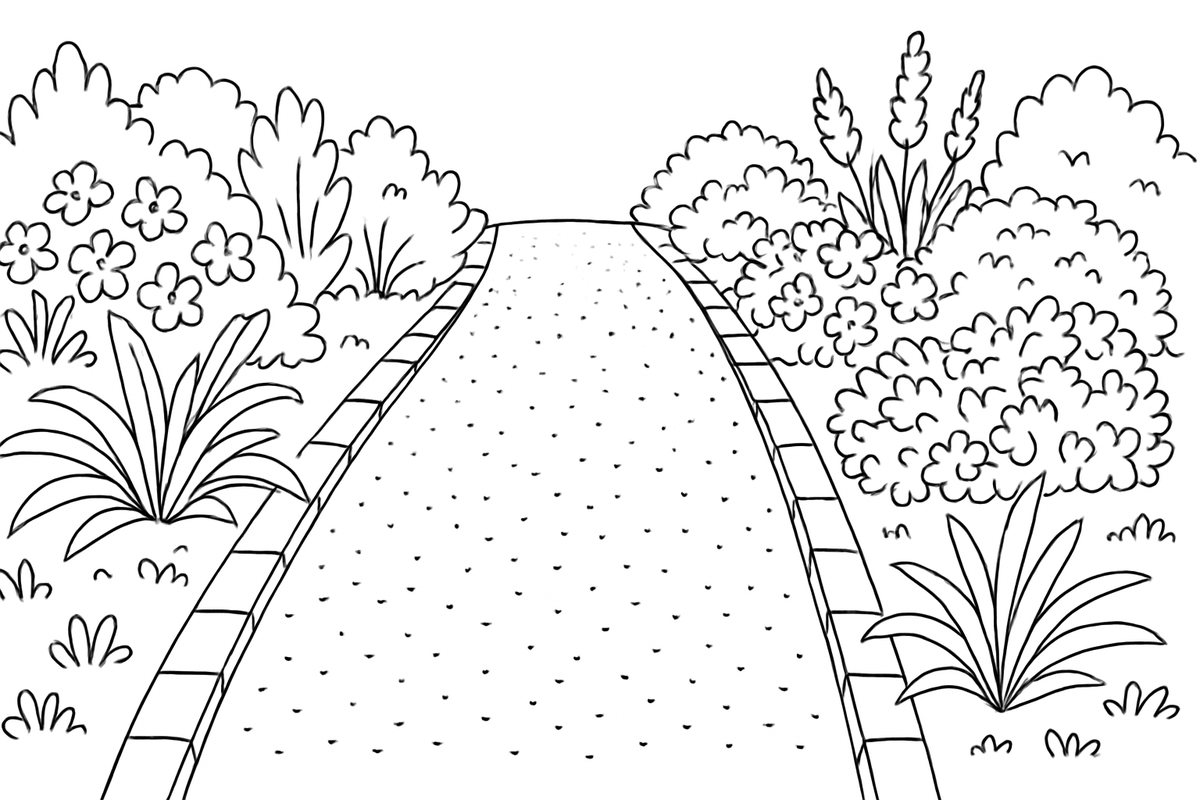
Good edging is what separates a tidy, long-lasting path from a scruffy one. It stops gravel scattering, keeps blocks from creeping outward, holds a clean line against the lawn and makes mowing easier. Common choices include:
- Timber: treated boards or sleepers — cheap, natural and ideal for gravel and bark paths.
- Brick or block: set on a mortar bed for a durable, decorative edge that suits slab and gravel paths alike.
- Metal or composite strip: a barely-there edge for clean, modern schemes, especially with resin or fine gravel.
- Stone setts: a hard-wearing, traditional border that flatters natural stone and brick.
Don't forget drainage
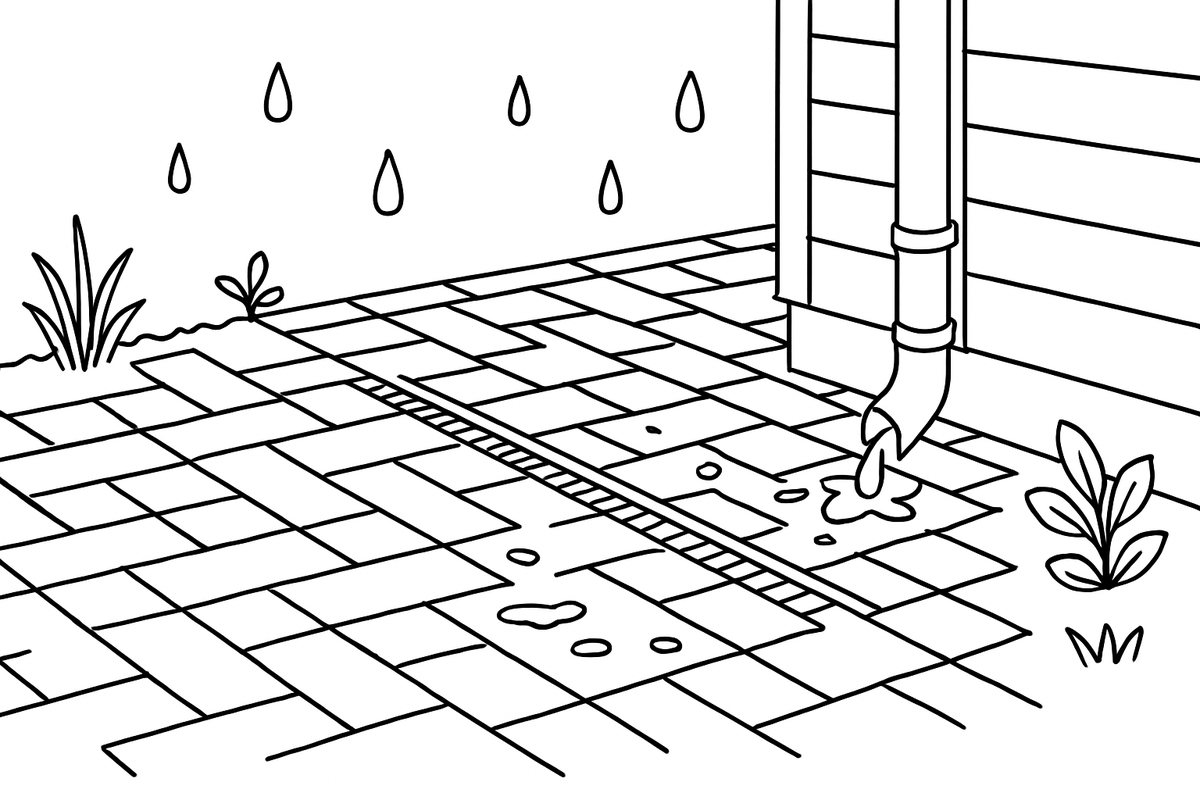
Water is the enemy of any hard surface. A path with nowhere for rain to go turns slippery, grows algae and lifts in a hard frost. Build in that slight cross-fall so water sheds to a border, lawn or gravel margin instead of pooling. Permeable materials such as gravel, resin-bound and open-jointed setts let water soak straight through, which eases the load on local drains. Never let a new path funnel water toward the house or a neighbour's property — send it to a soakaway or planted area instead. Our guide to permeable paving and driveway drainage covers the options in more detail.
How much does a garden path cost?
Cost turns on the material, the length and width, and how much groundwork is involved. The ranges below are broad guides for a professionally laid path in the UK; DIY can be much cheaper on materials but costs you time and tool hire.
- Gravel: often one of the most budget-friendly choices, since it needs less groundwork than slabs or blocks.
- Concrete slabs: a mid-range, all-round option.
- Natural stone or porcelain slabs: more, depending on the material and finish.
- Block paving: typically a step up from concrete slabs, given the extra labour.
- Resin-bound: among the pricier finishes, reflecting the specialist installation.
Factor in edging, excavation, sub-base, waste removal and any steps or curves too — they all add to the total. A short stepping stone path across an existing lawn can cost very little, while a long, curved stone path with lighting is a bigger investment. For a firm figure it is always best to have someone look at the site. If you are also planning a seating area, our garden patio ideas guide is a natural companion to this one.
A path built to last
The secret to a garden path that still looks good in ten years is rarely the surface you can see — it is the preparation underneath. A properly excavated, well-compacted sub-base, honest edging and thought-through drainage will outlast any fashionable finish. Get the foundations right, pick a material that suits both your garden and the way you will use it, and you will have a path that is a pleasure to walk every day.
If you would like a hard-wearing, beautifully finished path, patio or driveway without the graft, our team covers Cambridge and the wider East Anglia region. Get a free, no-obligation quote — call 01223 912222 or drop us a message, and we will talk you through the best options for your space and budget.
Frequently asked questions
What is the cheapest material for a garden path?
Gravel is usually the most affordable hard-wearing option, largely because it needs less groundwork than slabs or blocks. For short, informal routes a stepping stone path across an existing lawn, or a bark path over weed membrane, can work out cheaper still.
How wide should a garden path be?
As a rough guide, allow around 60cm for one person to walk comfortably, and 90cm to 1.2m if two need to pass side by side or you want to wheel a barrow, mower or pram along it. Main routes used every day are worth making a little wider than decorative paths through borders.
Can I lay a garden path myself?
A short, straight gravel path or a stepping stone route is well within reach of a confident DIYer, provided you dig out properly, compact a sub-base and fit good edging. Laying slabs or block paving over a longer run, cutting units to fit, or installing resin is much harder to get level and durable, so many people bring in a professional for those.
What is the best base for a garden path?
For a lasting result, excavate to around 150mm and lay a compacted sub-base of about 100mm of MOT Type 1 hardcore, compacted in layers with a plate compactor. Gravel then sits on a weed membrane over that base, while slabs and blocks are bedded on mortar or sharp sand. Good compaction is the single biggest factor in a path that stays flat.
Do I need drainage for a garden path?
Yes. Every path should have a slight cross-fall — around 1:60 — so rainwater runs off rather than pooling, turning slippery or lifting in frost. Permeable materials such as gravel and resin-bound let water soak straight through. Always direct run-off toward a border, lawn or soakaway, never toward the house or a neighbour's property.