A well-laid patio can transform a garden, giving you a solid, level place to sit, dine and unwind that keeps its looks for decades. Get the groundwork wrong, though, and even the priciest slabs will rock, sink, pool with water and stain within a season or two. The reassuring part is that laying a patio is a genuinely achievable job for a confident DIYer — provided you understand what is happening beneath the surface and treat the preparation as the main event.
This guide walks you through how to lay garden patio slabs from start to finish: planning and marking out, digging and building a sub-base, setting the fall for drainage, mixing mortar, laying and jointing the slabs, and letting it all cure. We will also be straight with you about where the job gets harder and when it pays to bring in a professional.
Before you start: planning and materials
Most patio problems are baked in long before the first slab goes down. An hour spent planning properly is the best investment you can make.
Choosing your slabs
Your choice of paving shapes both the finished look and the method you use to lay it. The main options in UK gardens are:
- Concrete slabs — the most budget-friendly, widely stocked and easy to cut. A dependable all-rounder.
- Natural stone (sandstone, limestone, granite) — full of character and hard-wearing, though thickness can vary from slab to slab, which changes how you bed each one.
- Porcelain — dense, low-maintenance and stain-resistant, but it needs a slurry primer painted on the back of every slab to bond, and a diamond blade to cut. It is the least forgiving option for a first attempt.
Still weighing up materials? Our guide to paving slabs explained: porcelain vs sandstone vs concrete compares looks, durability and upkeep in more detail.
Tools and materials checklist
- Spade, shovel and wheelbarrow
- Tape measure, string line, wooden pegs and a club hammer
- A long spirit level (ideally 1.2 metres) and a rubber mallet
- MOT Type 1 sub-base (hardcore) and a wacker plate (compactor) — both hireable by the day
- Sharp sand and cement for the mortar bed, plus a mixing board or cement mixer
- Angle grinder or block splitter for cutting, with the correct blade for your material
- Jointing compound or a dry mortar mix for the gaps
- Gloves, safety goggles and a dust mask — cutting slabs throws off a lot of harmful dust
Working out quantities
Measure the length and width of your patio and multiply them for the area in square metres. Add roughly 10% to your slab order to allow for cuts, breakages and the occasional mis-measure. As a rough guide you will need around one tonne of sub-base per 10 square metres at a 100mm depth, though this shifts depending on how firm your ground is to begin with.
Step 1: Mark out the area and set your levels
Use pegs and string to mark the outline of your patio. Pause to picture how you will actually use the space — a dining set swallows more room than most people expect, so leave generous clearance for chairs to pull out.
The single most important rule of patio laying is this: the finished surface must sit at least 150mm below the damp-proof course of any adjoining house wall. The damp-proof course usually shows as a thicker mortar line a couple of brick courses up from the ground. Paving that bridges it will feed rainwater into the wall and cause damp inside. If you are unsure, err on the low side and never let the patio creep above that line.
Step 2: Excavate and create a fall for drainage
Now dig out the marked area. You need enough depth for the whole build-up: typically around 100–150mm of sub-base, plus a 40–50mm mortar bed, plus the thickness of your slab. For most patios that works out to excavating somewhere between 200mm and 250mm below the finished height.
As you dig, build in a fall — a gentle slope that carries water away from the house and off the paving. A fall of about 1:80 (roughly a 12mm drop over every metre) is a sound target: it reads as flat to the eye but sheds water reliably. Set this fall now, using your string lines and spirit level, because every layer you lay afterwards has to follow it. Always slope away from the building, never towards it.
Nine times out of ten, a patio that holds standing water after rain never had its fall set in the first place. Building the slope in at the digging stage is far easier than trying to correct it once the slabs are down.
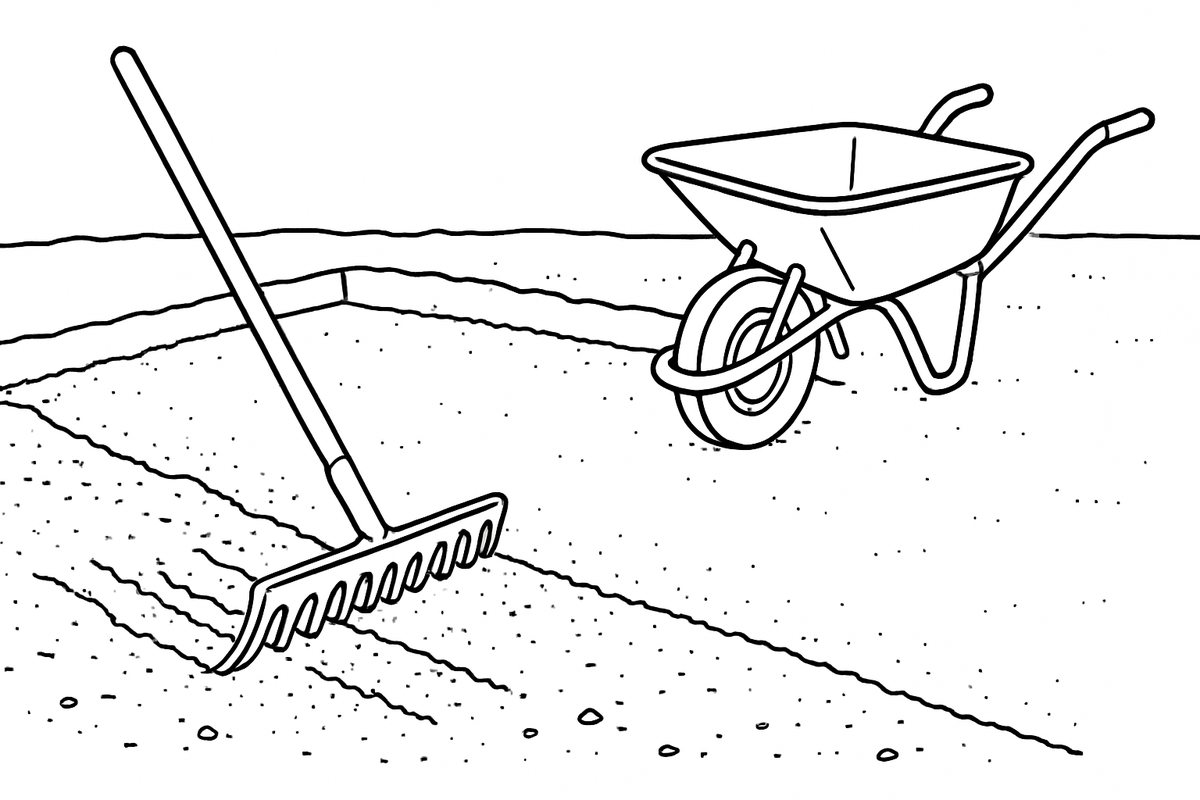
Step 3: Lay and compact the sub-base
The sub-base is the load-bearing foundation that carries the weight and stops the patio settling unevenly. Cutting corners here is the most common — and most expensive — mistake people make.
- Spread MOT Type 1 hardcore evenly across the excavation, aiming for a compacted depth of around 100–150mm.
- Rake it out to follow the fall you established, then compact it thoroughly with a wacker plate. If the depth is more than about 75mm, do it in layers — compact, add more, compact again.
- The finished sub-base should be firm enough to walk on without leaving footprints, with no soft or springy patches anywhere.
A properly compacted sub-base is the difference between a patio that lasts twenty years and one that sinks within two.
Step 4: Mix your mortar
Patio slabs should be laid on a full mortar bed — not on loose sand, and not on five dabs under the corners (the notorious "spot bedding" that leaves hollow voids where slabs crack and water gathers). A solid, continuous bed supports the whole slab.
A reliable mortar mix for a patio is roughly 4 parts sharp sand to 1 part cement. Add water gradually and mix to a firm, moist consistency — think damp sandcastle rather than soup. It should hold its shape when you draw a ridge through it, not slump flat. Only mix as much as you can lay in about 30–40 minutes, since mortar begins to go off as soon as water is added.
If you are laying porcelain, brush a proprietary slurry primer onto the back of each slab just before you bed it. Skip that primer and the porcelain simply will not bond to the mortar — the slabs will work loose and lift.
Step 5: Lay the slabs
Begin at the highest point of your fall, usually the corner nearest the house, and work outwards so you are always standing on ground you have not yet laid. Line the first slab up against your string guides before you commit to bedding it.
- Trowel out a full bed of mortar slightly larger than the slab and around 40–50mm deep.
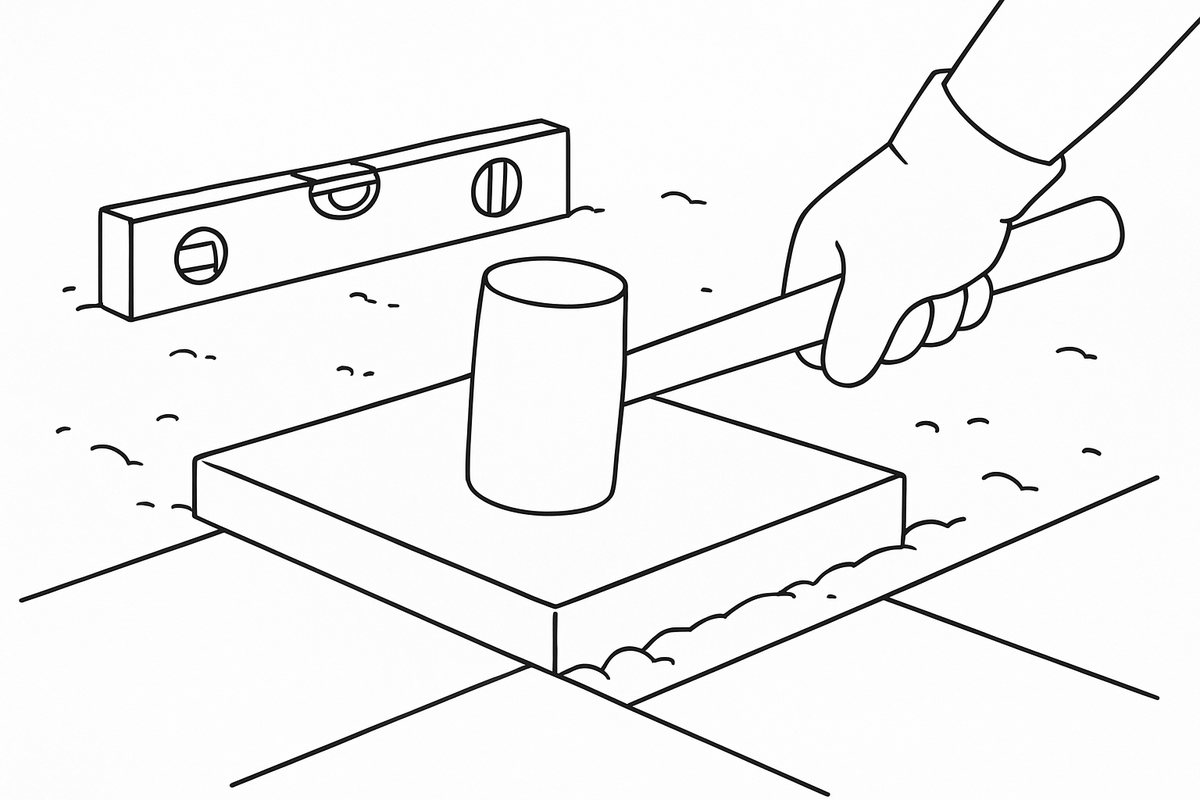
- Lower the slab into place — never drop it — and settle it into the bed with light taps from a rubber mallet. Rest a length of timber across the slab and strike that instead of the paving itself, which spares the surface from chips and cracks.
- Check the level after every slab. Each one should sit flush with its neighbours and follow the fall. Lift it and add mortar, or tap it down, until it reads true.
- Keep the joints even — around 8–12mm is typical. Small spacers or offcuts of timber help hold the gaps consistent.
- Wipe off any mortar that squeezes onto the slab face at once. Cement stains are stubborn to shift once they have dried.
When you reach edges or obstacles, mark your cut and use an angle grinder or block splitter. Wear goggles and a mask, and cut outdoors, well away from open windows and doors.
Step 6: Point the joints
Once every slab is down, leave the patio to set — ideally a full 24 hours — before you point it, so you are not kneeling on freshly bedded slabs. Filling the joints keeps water out of the bed and locks the whole surface together. You have two main options:
- Brush-in jointing compound — a modern, resin-based product you sweep into damp joints and firm down. Quick, clean, forgiving and good at resisting weeds. Follow the maker's instructions on slab dampness to the letter.
- Traditional wet mortar pointing — pressed into each joint with a pointing trowel and finished with a jointing iron. Slower and messier, but a classic result. Take real care not to smear mortar across the slab faces.
Step 7: Let it cure and keep off
Resist the urge to use your new patio straight away. Keep foot traffic off for at least 24 hours, and hold back heavy furniture or planters for a few days while the mortar builds strength. If frost or heavy rain is forecast in the first day or two, drape the patio with a plastic sheet — both cold and wet interfere with curing. In hot weather the concern flips: shading the mortar so it does not dry too fast helps prevent weak, crumbly joints.
What about laying slabs on soil or sand?
You will find plenty of advice online for bedding slabs straight onto soil or a sand layer. As occasional stepping stones dotted across a lawn, that can do the job. For a patio you plan to furnish and use, it is a false economy: bare earth swells and shrinks through the seasons, and a loose sand bed simply washes away, so the paving is soon tilting and loose underfoot. A compacted sub-base and a full mortar bed are what keep a patio sitting true rather than becoming a job you have to redo. If it is the stepping-stone look you are after, our garden path ideas and how to lay a garden path guide covers the lighter-touch methods that genuinely suit that purpose.
DIY or hire a professional?
Laying a small, square patio on flat ground is well within reach of a capable DIYer with a free weekend and some hired kit. As a rough steer, a professionally installed patio in the UK typically costs somewhere in the region of £80–£150 per square metre depending on the material, groundwork and access, with premium porcelain or intricate designs sitting higher.
It is worth bringing in a professional when:
- The ground slopes significantly, or the patio needs steps, retaining walls or raised sections.
- You are laying porcelain or large-format slabs, where mistakes are costly and cuts are unforgiving.
- Drainage is complicated, or the patio meets the house and the damp-proof course has to be respected.
- You simply want the certainty of a level, free-draining, properly bedded finish first time.
A good installer earns their fee in the groundwork you never see — the excavation, fall and sub-base that decide whether your patio lasts.
Get expert help with your patio
At 1st Builders Cambridge we lay patios of every size across Cambridge and East Anglia as part of our decking, patio and paving services, from ground preparation and drainage through to the final jointing. Whether you want the whole job handled or just a second opinion on your plans, we are glad to help. Call us on 01223 912222 or get a free quote — no pressure, just clear, honest advice.
Frequently asked questions
What is the best mortar mix for laying patio slabs?
A reliable mix is around 4 parts sharp sand to 1 part cement, brought together with water to a firm, moist consistency that holds its shape rather than slumping. Slabs should be laid on a full, solid mortar bed roughly 40–50mm deep — never on five spot dabs, which leave hollow voids where slabs crack and water collects.
Do I really need a sub-base under a patio?
Yes, for any patio you intend to use and furnish. A compacted MOT Type 1 sub-base of around 100–150mm carries the load and stops the paving settling unevenly. Bedding slabs straight onto soil or sand is a false economy — bare earth moves through the seasons and a sand layer washes out, so the paving soon tilts and works loose.
How much fall should a patio have for drainage?
Aim for a fall of about 1:80, roughly a 12mm drop over every metre, sloping away from the house. It looks flat to the eye but is enough to shed rainwater and stop puddles forming. Set the fall at the excavation stage, because every layer you lay afterwards has to follow it.
How far below the damp-proof course should a patio be?
The finished patio surface must sit at least 150mm below the damp-proof course of any adjoining house wall — usually visible as a thicker mortar line a couple of brick courses up. Paving that bridges it channels rainwater into the wall and causes damp inside, so always keep the patio low.
How long before I can walk on a newly laid patio?
Keep foot traffic off for at least 24 hours, and hold back heavy furniture or planters for a few days while the mortar gains strength. If frost or heavy rain is forecast in the first day or two, cover the patio with a plastic sheet, as both cold and wet interfere with curing.
Can I lay a patio myself or should I hire a professional?
A small, square patio on flat ground is achievable for a confident DIYer with hired kit and a free weekend. It is worth hiring a professional when the ground slopes, when steps or retaining walls are involved, when you are laying porcelain or large-format slabs, or when drainage near the house is complicated.