A well-planned patio is one of the most rewarding changes you can make to a garden. It gives you a firm, dry place to sit, dine and entertain, it links the house to the lawn, and — done properly — it earns its keep in every season, not just on the handful of warm evenings we get each summer. The catch is that "patio ideas" can quickly feel overwhelming: there are dozens of materials, layouts and finishing touches to weigh up before you lay a single slab.
This guide cuts through the noise with 12 practical patio ideas for gardens of all shapes and sizes. Whether you have a courtyard the size of a rug or a sprawling back garden, you'll find layouts, materials and design tricks here that genuinely hold up in the UK climate — along with honest notes on cost and when it pays to call in a professional.
Start with how you'll actually use it
Before you fall for a particular slab or a Pinterest board full of fire pits, spend ten minutes picturing a normal week outdoors. The best patio design is the one that fits your life, not a showroom.
- Dining: a six-seat table with the chairs pulled out needs roughly 3m x 3.5m of clear space. Skimp on this and the table ends up jammed against a wall.
- Lounging: a sofa set and a low table want a generous, sheltered corner — ideally one that catches the evening sun.
- Following the light: watch where shadows fall through the day. A spot that bakes at noon but sits in shade by 7pm may be the opposite of what you'd enjoy.
- Access: the patio should flow straight off the back door, the kitchen or the bi-folds — not force you across wet grass to reach it.
Get these basics right first and every later decision becomes easier — and you avoid paying to relay a patio that ended up in the wrong place.
1. Make a small patio feel bigger
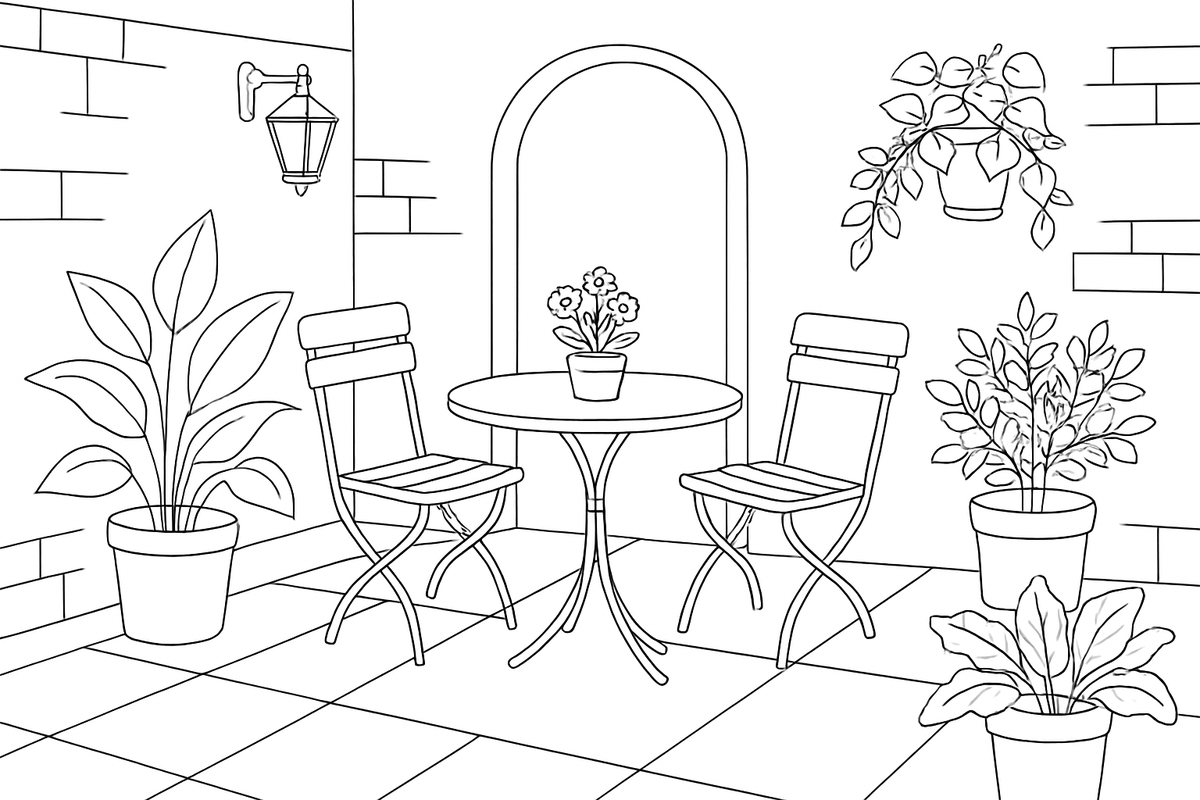
Compact gardens are the norm across much of the UK, and a small patio can still feel generous with a few deliberate moves. Lay large-format slabs rather than lots of little ones — fewer joint lines trick the eye into reading the area as larger. Run the paving diagonally, or lengthways away from the house, to pull the gaze outward. Keep the palette calm: one paving colour, one or two planting tones, and built-in or slimline furniture so the floor stays uncluttered.
A single statement pot or a small multi-stem tree adds height without eating floor space, and an outdoor-grade acrylic mirror on a boundary wall can double the sense of depth. To tie a small patio neatly into the rest of the plot, our garden path ideas show how to link the two without wasting a square metre.
2. Choose your material with purpose
The paving you pick sets the tone for the whole space, so it's worth knowing the main options at a glance:
- Porcelain: modern, low-maintenance, colour-fast and highly stain- and frost-resistant. It stays crisp for years but needs careful laying on a full mortar bed with a slurry primer.
- Natural stone (sandstone, limestone, granite): full of character, with natural tonal variation. Warm and traditional, though most types benefit from sealing to resist staining.
- Concrete slabs: the budget-friendly workhorse, now available in convincing riven and textured finishes.
- Block paving: hard-wearing and easy to lift and re-lay a block at a time, though more common on driveways than patios.
For a proper head-to-head on the different slab types — looks, durability, slip resistance and cost — see our guide to porcelain vs sandstone vs concrete paving.
3. Add a split-level or raised patio
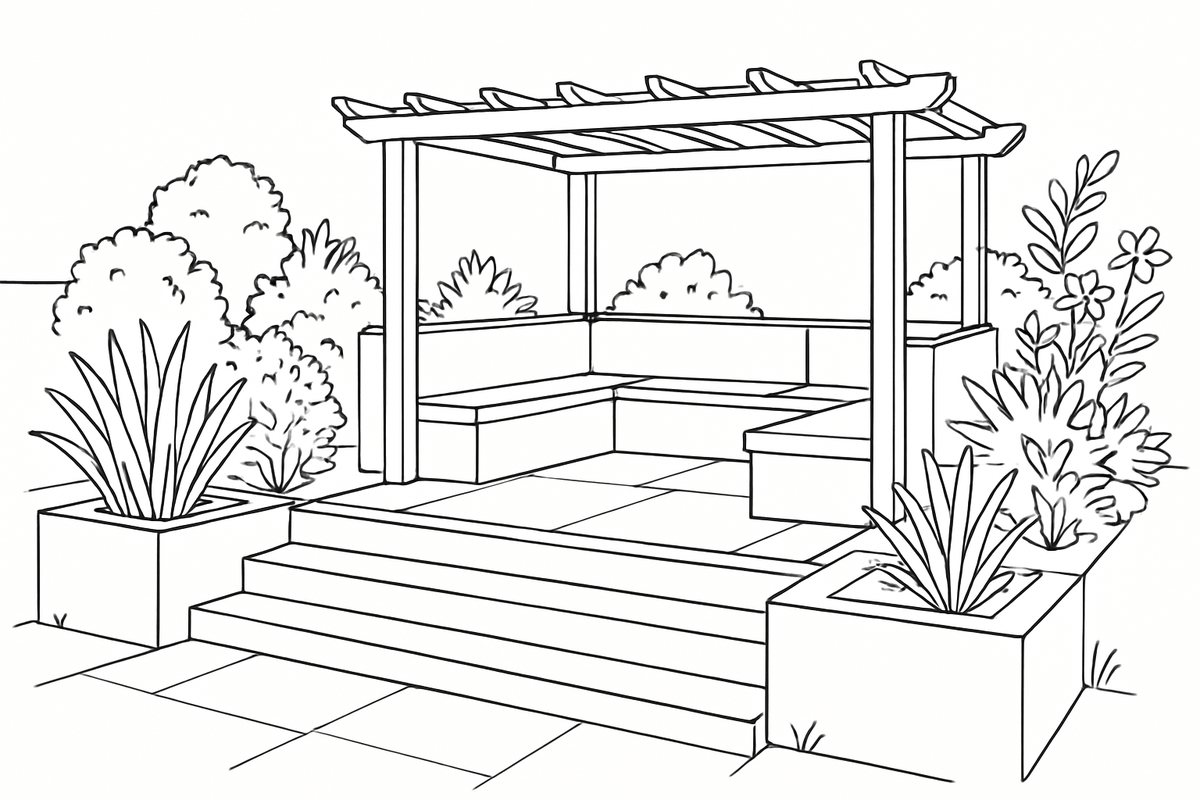
If your garden slopes, or you simply want to break up a flat, featureless space, dividing the patio into two or more levels adds real interest. A raised dining area near the house with a couple of shallow steps down to a lounging zone gives each activity its own "room" outdoors. Levels also come into their own on a slope, where terracing turns an awkward gradient into usable, flat platforms.
Retaining walls and structural steps are where a raised patio moves from a DIY weekend into professional territory. Loads, drainage and safe, evenly spaced steps all have to be right, so this is one to plan carefully rather than improvise.
4. Sink it for a cosy, sheltered feel
A sunken patio does the reverse of a raised one: it sets the seating area slightly below the surrounding garden to create a snug, sheltered pocket. Ringed by low walls or planting, it feels private and shielded from wind — ideal for a fire pit or a built-in bench. Because it involves excavation and careful drainage (you never want water collecting in a lowered area), a sunken patio almost always warrants professional groundwork.
5. Wrap the patio in planting
Nothing softens hard paving like greenery. Rather than leaving a stark slab-to-fence transition, build planting in from the start to blur the edges and bring the space to life.
- Between the slabs: leave gaps for low, tough plants such as creeping thyme or chamomile that release scent when brushed underfoot.
- Raised beds: a run along one edge doubles as informal perch seating and lifts borders to a comfortable height.
- Pots and troughs: the most flexible option — group odd numbers at varying heights, and pair evergreens for winter structure with seasonal colour.
- Climbers: a trellis or tensioned wires on a boundary wall lets jasmine or a climbing rose bring scent and greenery upwards without touching the floor.
6. Get the lighting right
Good lighting is what lets a patio work after dark, and it needn't be complicated or costly. Layer it: gentle uplighters on a tree or wall for atmosphere, recessed floor or step lights for safety, and a brighter task light near a cooking or dining spot. Warm-white LEDs (around 2700K) feel far more inviting than cold, blue-white ones. Solar lights are fine for a subtle glow, but for reliable year-round light a proper mains or low-voltage system fitted by a qualified electrician is the better investment. Plan cable routes before the paving goes down — retrofitting them later is far more disruptive.
7. Build in a focal point
Every good patio has something that draws the eye and gives the space a reason to exist. Popular choices include:
- A fire pit or chiminea to stretch the evenings into spring and autumn.
- A built-in barbecue, pizza oven or compact outdoor kitchen.
- A water feature for gentle sound and a sense of calm.
- A pergola or gazebo to frame an outdoor "room" and carry climbers or shade sails.
You don't need all of these — one well-chosen feature does more than a cluttered collection. If you're fixing a feature in place, settle its position before laying the patio so the surface and any services can be set out around it.
8. Mix materials for texture and zones
Two complementary materials can lift a patio from ordinary to genuinely designed. Try porcelain slabs for the main seating area edged with a contrasting band of block paving or gravel, or set timber decking beside stone paving to separate a lounging zone from a dining one. A strip of gravel or cobbles around the perimeter also aids drainage and eases the transition into borders. Keep the palette disciplined — two or three materials at most — so the result reads as intentional rather than busy.
9. Frame a fire pit seating area
A dedicated fire pit corner is one of the most-used features in any British garden, precisely because it makes cool evenings comfortable. Lay a circular or square paved base, ring it with a low seat wall or built-in benches topped with weatherproof cushions, and you've created a natural gathering spot. Always keep a fire pit on non-combustible paving, well clear of fences, overhanging branches and the house, and never site one directly on timber decking without proper heat protection.
10. Design for drainage from the start
It isn't glamorous, but drainage is what separates a patio that lasts from one that turns green and slippery within a couple of winters. Every patio needs a slight fall — a gradient of roughly 1:60 to 1:80, or about 12–17mm per metre — running away from the house so rainwater sheds off rather than pooling or tracking back towards the walls. On larger patios, or where water has nowhere obvious to go, a channel drain or a soakaway may be needed. Where you can, send run-off into a border or a water butt rather than straight to the drains. Getting the falls and sub-base right is the single most important part of the job — a big reason many homeowners hand the groundwork to a professional.
11. Furnish it to suit the space
Furniture is the final layer that turns paving into a place you actually want to linger. Scale it to the patio: a corner sofa set suits a generous area, while a bistro table and two chairs is perfect for a courtyard. An outdoor rug instantly marks out a lounging zone and adds warmth underfoot, and a parasol, sail shade or pergola gives you cover from both strong sun and a passing shower. Choose weatherproof materials — powder-coated aluminium, all-weather rattan or FSC-certified hardwood — that shrug off a British winter with minimal fuss.
12. Plan for year-round use
The most successful patios aren't just summer spaces. A few considered additions stretch their use across the seasons: a fire pit or patio heater for cooler evenings, a pergola or canopy for both sun and rain, evergreen planting so the space keeps its structure in December, and good lighting so long winter nights don't shut the garden down at four o'clock. Design with the whole year in mind and the patio repays the investment many times over.
What does a new patio cost?
Costs vary widely with material, site conditions and the amount of groundwork involved, so treat any figure as a guide only. As a rough steer, a professionally installed patio in the UK typically lands somewhere around £90–£180 per m² for concrete or standard sandstone, rising to roughly £150–£250 per m² or more for quality porcelain, once you allow for the sub-base, labour and edging. Split levels, retaining walls, drainage runs and awkward access all push the figure up. A proper on-site quote is the only way to know your real numbers, because the groundwork you can't see often costs as much as the paving you can.
DIY or hire a professional?
Laying a small, level patio on straightforward ground is within reach of a confident DIYer with the right tools and time — and our step-by-step guide on how to lay a patio walks you through the sub-base, mortar mix, falls and jointing. Where a professional really earns their fee is on the parts that are hard to put right afterwards: getting the falls and sub-base spot on, building safe steps and retaining walls, sorting drainage, and delivering a crisp, level finish across a large area. If your project involves changes in level, tricky drainage or a premium material like porcelain, it's usually money well spent to have it done properly the first time.
Bringing your patio idea to life
Whether you're picturing a snug fire pit corner, a split-level entertaining space or simply a smart, low-maintenance surface that looks after itself, the key is the same: plan around how you'll actually use the space, choose materials that suit your garden and budget, and get the groundwork right underneath. Do that, and your patio will look good and work hard for years.
1st Builders Cambridge designs and installs patios across Cambridge and East Anglia, and our decking, patio and paving services cover everything from a compact courtyard to a full multi-level transformation. For friendly, expert advice tailored to your garden, get a free, no-obligation quote — call us on 01223 912222 and we'll talk through your ideas and what they'd involve.
Frequently asked questions
How much space do I need for a patio?
It depends on how you'll use it. A six-seater dining set with the chairs pulled out needs roughly 3m x 3.5m of clear space, while a bistro table and two chairs sits comfortably in a courtyard-sized area of about 2m x 2m. Always allow room to walk around the furniture rather than measuring the furniture alone.
What is the best low-maintenance patio material?
Porcelain paving is generally the most low-maintenance option. It's colour-fast, highly stain- and frost-resistant, and won't need the periodic sealing most natural stone does. It does require careful installation on a full mortar bed with a slurry primer, so it's best laid by an experienced installer.
Do I need planning permission for a patio?
For a standard patio laid at the same level as your garden, you usually don't need planning permission. Raised patios, decking above a certain height, or work on a listed building or in a conservation area can carry restrictions. If you're building up levels or working close to a boundary, it's worth checking with your local planning authority first.
How do I stop my patio getting slippery and green?
Good drainage is the main defence — a slight fall away from the house stops water pooling and feeding algae. Beyond that, regular cleaning keeps growth at bay, and textured surfaces such as riven porcelain shed algae better than smooth stone. A gentle wash and a stiff brush each spring will keep most patios clear of green film and black spots.
Can I lay a patio myself?
A small, level patio on firm ground is achievable for a confident DIYer with the right tools and time. The tricky parts — getting the sub-base and drainage falls right, building safe steps or retaining walls, and achieving a crisp finish over a large area — are where a professional adds the most value and where mistakes are expensive to put right later.
How long does a patio installation take?
A simple, small patio might take a couple of days including groundwork, while a larger project with split levels, drainage or retaining walls can run to a week or more. Ground conditions, access and weather all affect the timeline, so confirm it with your installer when you get a quote.