A well-built deck turns an awkward corner of the garden into somewhere you actually want to sit. Done properly, it stays level, feels solid underfoot and lasts for years on light upkeep. Done badly, it sags, springs and rots within a few seasons. The difference nearly always comes down to two things: how well the ground is prepared and how well the frame is built.
This guide walks through a decking build from start to finish for a typical UK garden, covering planning, ground prep, building the frame, laying timber or composite boards, spacing, fixings and finishing. It is written so you can tackle a straightforward ground-level deck yourself, and so you know what a good job looks like if you decide to bring in a professional.
Before you start: planning and permissions
Most simple garden decks count as permitted development and need no planning permission. As a general rule in England, permission is usually not required where the deck sits no more than 30cm above ground level and, together with any other extensions and outbuildings, covers no more than half the garden. The common exceptions are raised decks, decks that overlook a neighbour, and any deck on a listed building or in a conservation area.
The rules differ across Scotland, Wales and Northern Ireland, and councils interpret them differently, so it is always worth a quick call to your local planning authority before you buy a single board. It costs nothing and can save a great deal of grief later.
While you are planning, think about:
- Position and sun. Watch where the sun falls through the day; a deck in the wrong spot rarely gets used.
- Size and shape. Sketch it out and, where you can, size the deck to whole board lengths to reduce cutting and waste.
- Access and drainage. Keep the deck surface at least 150mm below the house damp-proof course, and never block air bricks; airflow under the property matters.
- Board direction. Decide this early, as it dictates which way the joists must run underneath.
Tools and materials you will need
Gather everything before you begin, so you are not stopping halfway through a concrete pour. A basic kit runs to a tape measure, spirit levels (a long one and a short one), a set square, a chalk line, a circular saw or handsaw, a cordless drill/driver, a spade, a club hammer and a wheelbarrow.
For materials, you will typically need:
- Frame timber — pressure-treated C16 or C24 joists, usually 47mm x 100mm or 47mm x 150mm depending on span.
- Decking boards — pressure-treated softwood, hardwood, or composite.
- Weed-control membrane plus gravel or a sub-base for underneath.
- Fixings — corrosion-resistant decking screws, joist hangers, coach bolts for posts, and post supports or concrete for footings.
- Support pads or slabs to keep the frame off wet ground.
Always choose stainless steel or properly coated screws. Standard screws corrode in damp timber and bleed rust stains across the boards.
Step 1: Prepare the ground
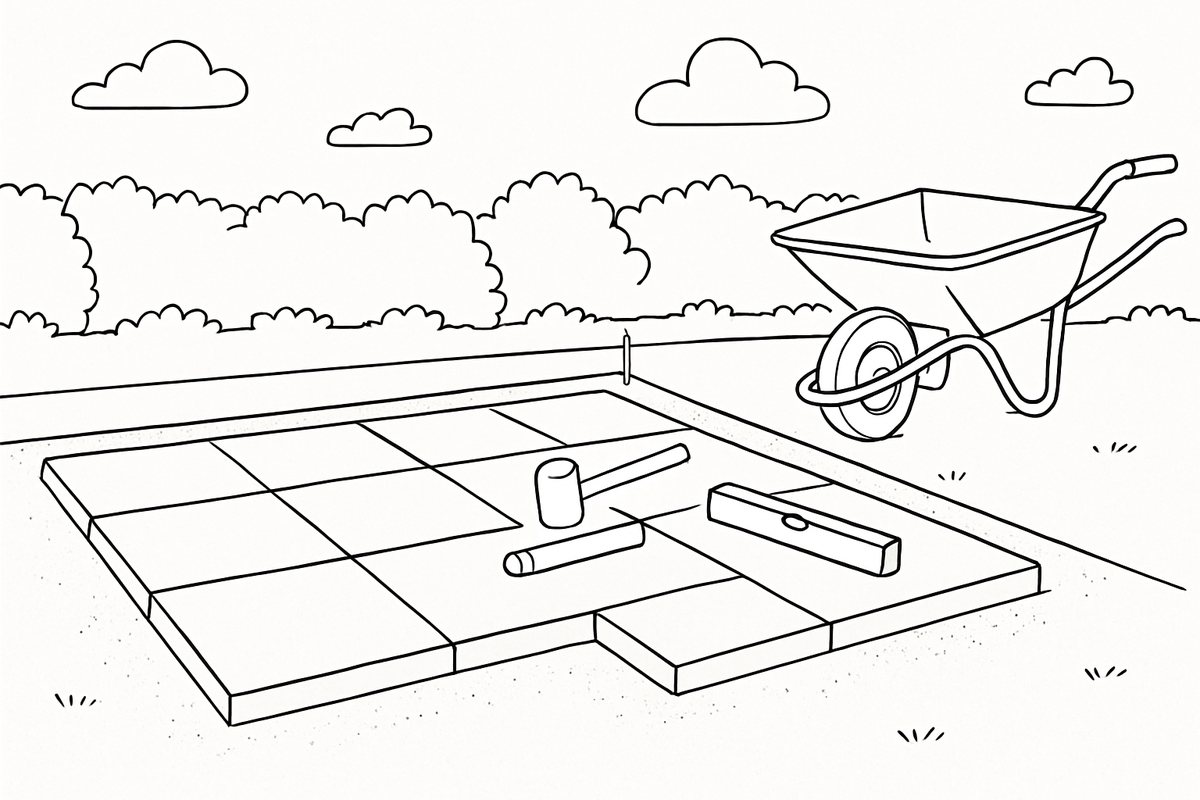
Ground preparation is the single most important stage of any decking build, and the one most often rushed. Clear the whole area of turf, plants and large stones, then dig out roughly 50mm of soil across the footprint so the finished frame is not sitting in a puddle.
Lay a weed-control membrane over the exposed soil to stop growth pushing up between the boards, then cover it with a thin layer of gravel or crushed hardcore. This keeps the ground stable and helps water drain away rather than sitting against the timber. On a sloping or very soft site, or where the deck will be raised, you will need concrete footings for the posts instead, which is where many DIY projects benefit from professional input.
Take your time getting the levels right here. A small error at this stage becomes a very visible slope once the boards are down.
Step 2: Build the decking frame
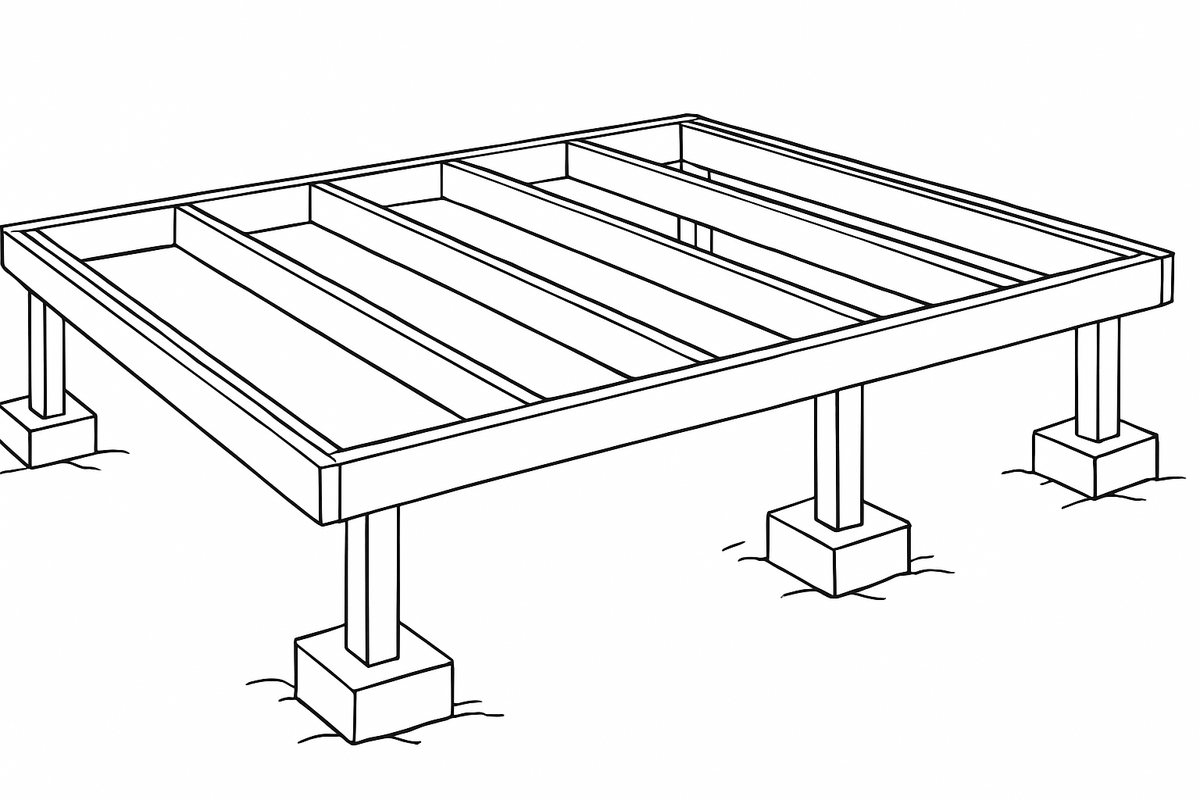
The frame, often called the subframe or joist frame, carries all the weight, so it needs to be square, level and well supported. If the deck sits against the house, start with a wall plate: a length of joist fixed level and securely to the wall, just below your finished deck height, using fixings suited to the wall type.
Then build out the frame:
- Cut and assemble the perimeter. Fix the outer joists together into a rectangle, then check it is square by measuring both diagonals; they should match.
- Add the internal joists. Space them at 400mm centres for timber boards, or follow the maker's spacing for composite, which is often 300mm centres or tighter. Composite is less rigid than timber and needs more support, especially at board ends.
- Fit joist hangers or fixings to lock each joist in place, and add noggins (short cross-pieces between joists) to stiffen the frame and stop it twisting.
- Support the frame on posts, concrete footings or paving slabs. Check for level in every direction as you go, building in a very slight fall (roughly a 1:80 slope, away from the house) so rainwater runs off rather than pooling.
Before you lay a single board, brush every freshly cut end with end-grain preservative. Cutting exposes untreated wood, and cut ends are exactly where rot tends to take hold.
Step 3: Lay the decking boards
With a solid, level frame in place, laying the boards is the satisfying part. Work from one edge, ideally the straightest or most visible one, and dry-lay the first few boards to check your spacing before you fix anything down.
Spacing and expansion gaps
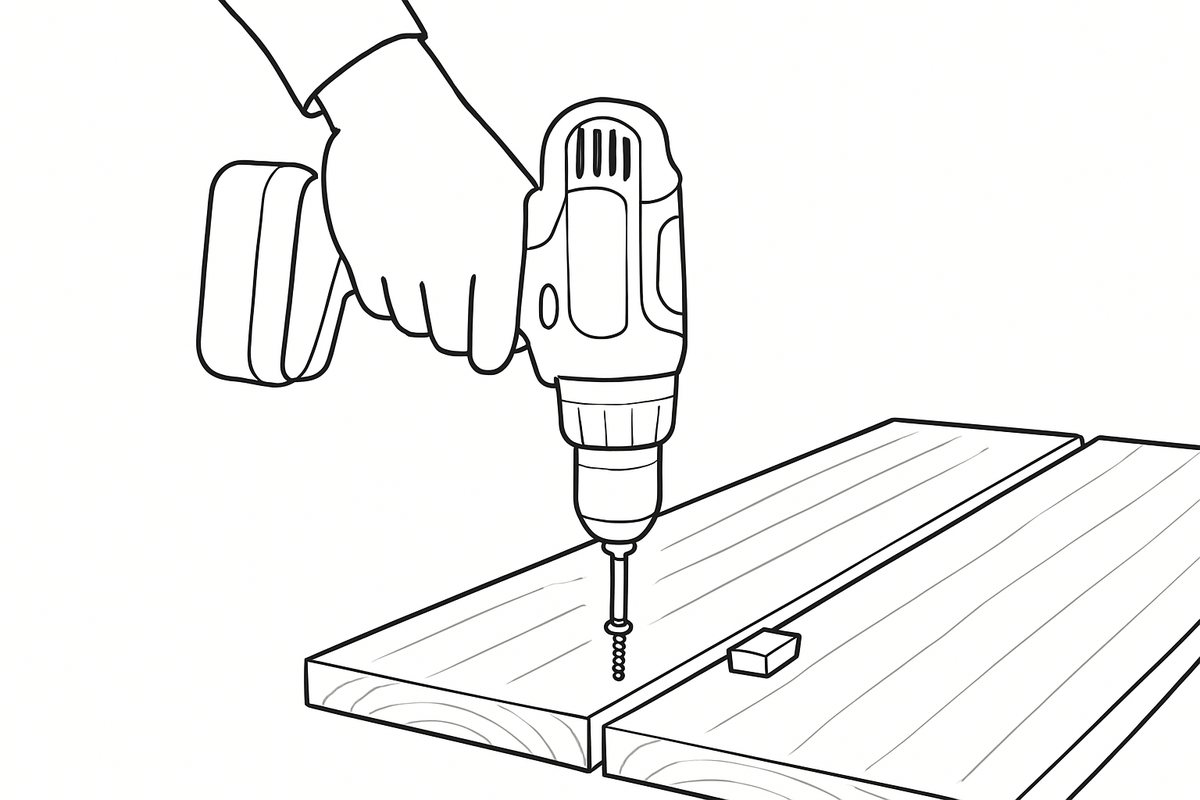
Timber and composite both move with temperature and moisture, so a consistent gap between boards is essential, both for drainage and to let the boards expand. As a guide, leave around a 5–8mm gap between timber boards. Composite has its own rules: always follow the maker's stated gaps, which usually differ along the length of the board versus at the ends, and are wider in cold weather when the boards have contracted. A simple offcut or spacer, used every time, keeps each gap uniform.
Fixing timber boards
Fix timber boards with two decking screws at every joist, pre-drilling to prevent splitting, especially near the ends. Keep the screws in a straight line for a neat finish and drive them just flush, not sunk below the surface. Stagger any end joints so they do not all land on the same joist, and make sure every joint is supported on solid timber.
Laying composite decking
Composite boards are usually installed with hidden clips that slot into a groove along the board edge and screw down to the joist. This gives a clean, screw-free surface and sets the expansion gap for you. The first and last boards normally still need a starter clip or a direct screw fixing. Composite is heavier and far less forgiving of a poor frame, so accurate joist spacing really matters; a springy composite deck almost always means the joists were set too far apart.
Step 4: Finishing and safety
Once all the boards are down, tidy the edges. You can trim overhanging boards flush with a chalk line and circular saw for a crisp edge, or fit a fascia board around the perimeter to hide the frame and cut ends. This one detail is what separates a professional-looking deck from an obviously home-made one.
How you finish the surface depends on your material:
- Timber decking should be left to dry out for a few weeks, then treated with a quality decking oil or stain to protect it and lift the colour. It will need re-oiling from time to time, typically once a year. Our guide on how to clean and maintain decking, including oil versus stain, covers this in detail.
- Composite decking needs no oiling or sealing; an occasional wash with warm, soapy water is all it asks. That low upkeep is a big part of the appeal.
Finally, think about safety. Both timber and composite can turn slippery once algae builds up, so keep the surface clean, and fit railings or balustrades on any raised deck, particularly where children will use it.
Timber or composite: which should you build?
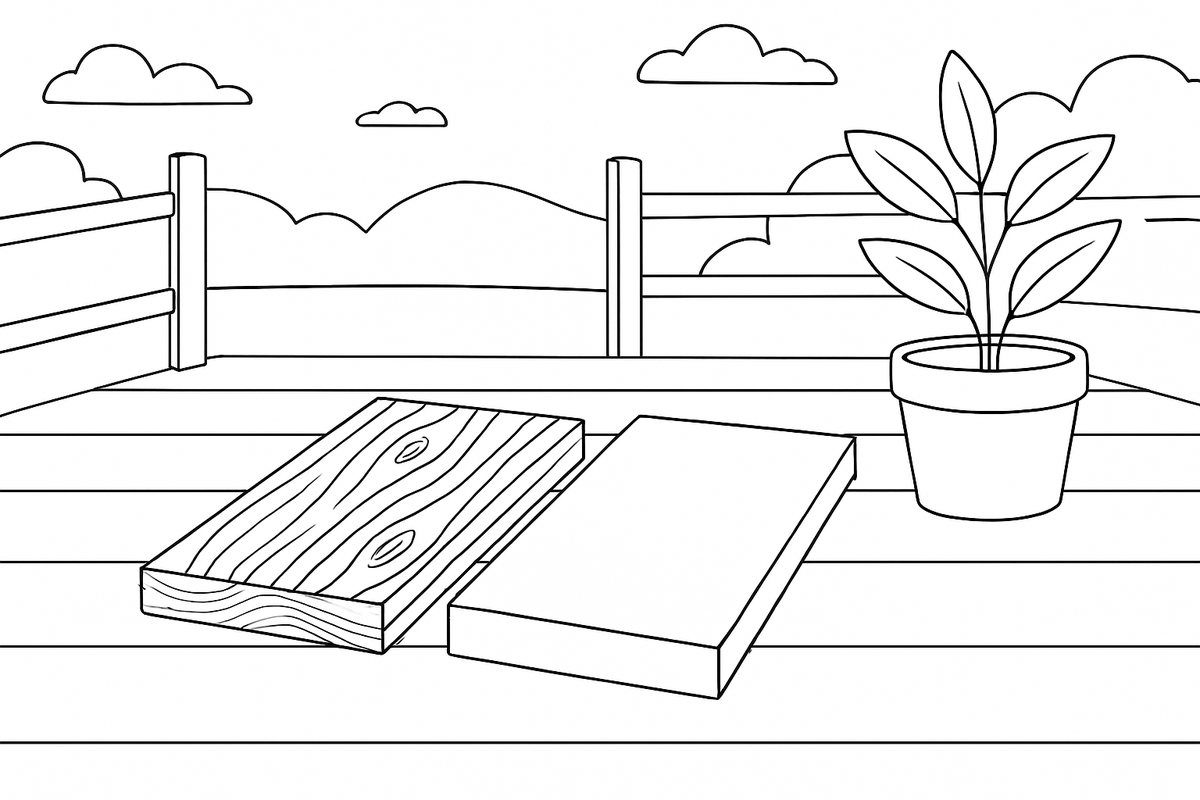
Your choice of board shapes the budget, the maintenance and the finished look. In short, timber is cheaper up front and gives a natural feel but needs regular treating; composite costs more at the outset yet is far lower-maintenance and very hard-wearing. Because it changes so much about the build, it is worth settling before you start; our full comparison of composite versus timber decking weighs up cost, lifespan and appearance in depth.
DIY or hire a professional?
A simple, ground-level rectangular deck on firm, flat ground is a realistic weekend project for a confident DIYer with a helper, and building it yourself saves a fair amount in labour. As a rough guide, materials for a modest timber deck tend to work out around £40–£70 per square metre, with composite boards pushing the material cost higher.
Some situations, though, are better left to a professional:
- Raised or multi-level decks, which bring in structural posts and load calculations.
- Sloping, unstable or waterlogged ground that needs proper concrete footings.
- Decks attached to the house, where getting the wall plate, heights and drainage wrong causes real problems.
- Any project where you want a guaranteed square, level, long-lasting result without the trial and error.
A well-built frame disappears from view once the boards are on, but it is the part that decides whether your deck lasts a handful of years or a couple of decades, which is exactly why it pays to get it right.
If you would rather leave it to an experienced team, our decking, patio and paving services cover the whole job from ground preparation to the final board, done properly the first time. We work with homeowners across Cambridge and East Anglia. Call us on 01223 912222 or get a free quote, and we will help you plan a deck that suits your garden and your budget.
Frequently asked questions
What should the decking frame stand on, and how far off the ground?
Keep the timber frame off wet ground so it drains and lasts. On firm, level ground it can sit on concrete footings, paving slabs or purpose-made post supports over a membrane and gravel layer. On soft or sloping ground, concrete footings for the posts are the reliable choice. Always keep the finished deck at least 150mm below the house damp-proof course and never cover air bricks.
What spacing should decking joists be?
For pressure-treated timber decking boards, joists at 400mm centres are standard. Composite is less rigid and needs more support, usually 300mm centres or tighter, and closer still near board ends. Always follow the spacing the composite maker states, as joists set too far apart are the usual cause of a springy, bouncy deck.
How big a gap do I leave between decking boards?
You need a consistent gap for drainage and to let the boards expand and contract. As a guide, leave around 5–8mm between timber boards. Composite has its own rules that differ along the board versus at the ends and change with temperature, so follow the maker's figures exactly. A spacer offcut used every time keeps the gaps uniform.
Do I need planning permission to build a deck?
Often not. In England a deck is usually permitted development if it sits no more than 30cm above ground level and, with other structures, covers no more than half the garden. Raised decks, listed buildings, conservation areas, and the rules in Scotland, Wales and Northern Ireland can differ, so always check with your local planning authority before buying materials.
Can I build garden decking myself?
Yes. A straightforward, ground-level rectangular deck on firm, flat ground is a realistic project for a confident DIYer with a helper, and it saves on labour. Raised or multi-level decks, sloping or waterlogged ground, and decks fixed to the house are more technical and are best left to a professional to get the levels, drainage and structure right.
Does composite decking need oiling or sealing?
No. Composite does not need oiling, staining or sealing; an occasional wash with warm, soapy water keeps it looking good, which is a big part of its appeal. Timber is different: it should be treated with decking oil or stain once it has dried out, then re-treated roughly once a year to keep it protected.