Porcelain paving has gone from a niche choice to one of the most-specified patio surfaces in the UK within the space of a few years, and it is easy to see why. It looks crisp and contemporary, brushes off spills, and asks very little of you once it is down. But it is not the automatic right answer for every garden, and it is noticeably less forgiving to lay than natural stone.
This guide walks you through what porcelain paving actually is, how it stacks up against sandstone and other materials, what it realistically costs in the UK, and the one installation detail that trips up plenty of DIYers and inexperienced installers. By the end you will know whether it suits your space or whether another material would serve you better.
What is porcelain paving?
Porcelain paving slabs start life as a blend of refined clays, sand and minerals, pressed under huge pressure and then fired at very high temperatures, typically well above 1,200°C. That firing process, known as vitrification, fuses everything into a hard, tightly packed tile with almost no open pores. In effect, outdoor porcelain is the thicker, tougher relative of the porcelain floor tiles used inside the home.
That density does all the heavy lifting. Water can barely get into the surface (absorption is usually well under 0.5%), so porcelain shrugs off the frost damage, staining and fading that a porous stone is prone to. Most garden porcelain is supplied in a 20mm thickness, which is the practical sweet spot for patios: robust enough to bed on mortar, but not so heavy that it becomes a struggle to handle.
The choice of looks is enormous, from smooth contemporary greys and riven stone effects to timber-plank and polished-marble finishes, each with a factory-consistent colour and a lightly textured face for grip. Popular sizes include 600×600mm, 900×600mm and long plank formats, with large-format slabs increasingly chosen for a clean, uncluttered patio.
The pros of porcelain paving
- Very little upkeep. No sealing, no re-sanding, no yearly treatment to remember. A regular sweep and the occasional wash with warm, soapy water keeps it looking smart.
- Shrugs off stains and scratches. Because the surface is effectively sealed, red wine, cooking oil, barbecue grease and rust tend to sit on top and wipe away rather than soak in.
- Frost-proof and colour-stable. With so little water absorption, porcelain will not spall or crack through freeze-thaw, and sunlight will not bleach it. The slab you lay this year should still match itself a decade on.
- Consistent size and shade. Slabs are calibrated to the same thickness and colour, which makes for tight, even joints and a very tidy finish.
- Dependable grip underfoot. Good outdoor porcelain is textured and commonly carries an R11 slip rating, which is reassuring around pool surrounds, shaded corners and anywhere that stays damp.
- Stays clean near planting and water. A near-sealed surface gives moss and algae far less to cling to, so you see fewer green patches and lingering damp marks.
The cons of porcelain paving
It is a genuinely excellent product, but it is only fair to set out the trade-offs.
- Awkward to cut. Porcelain is hard enough that it has to be cut with a diamond blade on a wet saw. Cutting it dry chips the edges and throws out harmful dust, which slows the job and rules out casual DIY tools.
- Unforgiving to lay. It cannot be spot-bedded on dabs of mortar the way some people (wrongly) lay stone. It needs a full mortar bed and a priming slurry on the back of every slab, covered below. Get that wrong and slabs can crack or work loose.
- Costs more to buy and to fit. Both the slabs and the skilled labour to lay them generally sit above budget concrete or entry-level sandstone.
- The uniformity is not for everyone. The very consistency that many people want can read as a touch manufactured to those who prefer the natural variation of real stone.
- Edges need finishing. A cut edge exposes the tile's core, so steps and borders usually call for matching coping, bullnose pieces or a porcelain-clad edge to look right.
Porcelain vs sandstone and other natural stone
Porcelain against sandstone is the question we are asked most, so here is a straight comparison. For a wider run-through of every option, see our guide to paving slabs explained: porcelain vs sandstone vs concrete.
Appearance
Sandstone brings natural colour movement, a subtle riven texture and a warm character that mellows with age. Porcelain offers cleaner lines, sharper edges and a colour that stays put, which suits a modern scheme. Neither is better in the abstract; it comes down to the look you want.
Maintenance
This is where porcelain pulls clear. Sandstone is porous, so it benefits from sealing and will gather algae, moss and the odd stubborn mark over time. Porcelain needs none of that. If low upkeep is your priority, porcelain wins comfortably.
Durability
Both materials are long-lasting, but porcelain holds up better against staining, scratching and frost. Quality sandstone will happily last for decades too; it simply shows the weathering and wear that porcelain does not.
Cost and installation
Sandstone is usually cheaper to buy and a little more forgiving to lay. Porcelain costs more up front and demands a priming slurry and careful workmanship, but repays you with years of near-effortless use. Across the full life of the patio, the gap narrows.
How much does porcelain paving cost in the UK?
Prices move with brand, colour, finish and where you buy, but the figures below give you a sensible ballpark. Treat them as a starting point rather than a quote, and always price your own project.
- Entry-level porcelain slabs: roughly £25–£40 per m² for the slabs on their own.
- Mid-range and premium porcelain: roughly £40–£70 per m², with designer, large-format and wood-effect ranges climbing higher.
- Fully installed (labour, sub-base and materials): as a broad guide, a professionally laid porcelain patio often works out around £100–£180 per m² all in, depending on access, groundwork and complexity.
Several things nudge that total up or down: how much you need to dig out and cart away, whether an old surface has to come up first, the quality of the sub-base, any drainage work, steps and edging, and how intricate the layout is. Because porcelain is slower to cut and set, labour makes up a bigger share of the bill than it does with simpler materials. For a wider breakdown across surfaces, our guide on how much a patio costs in the UK makes a useful companion read.
Installing porcelain: why the priming slurry matters
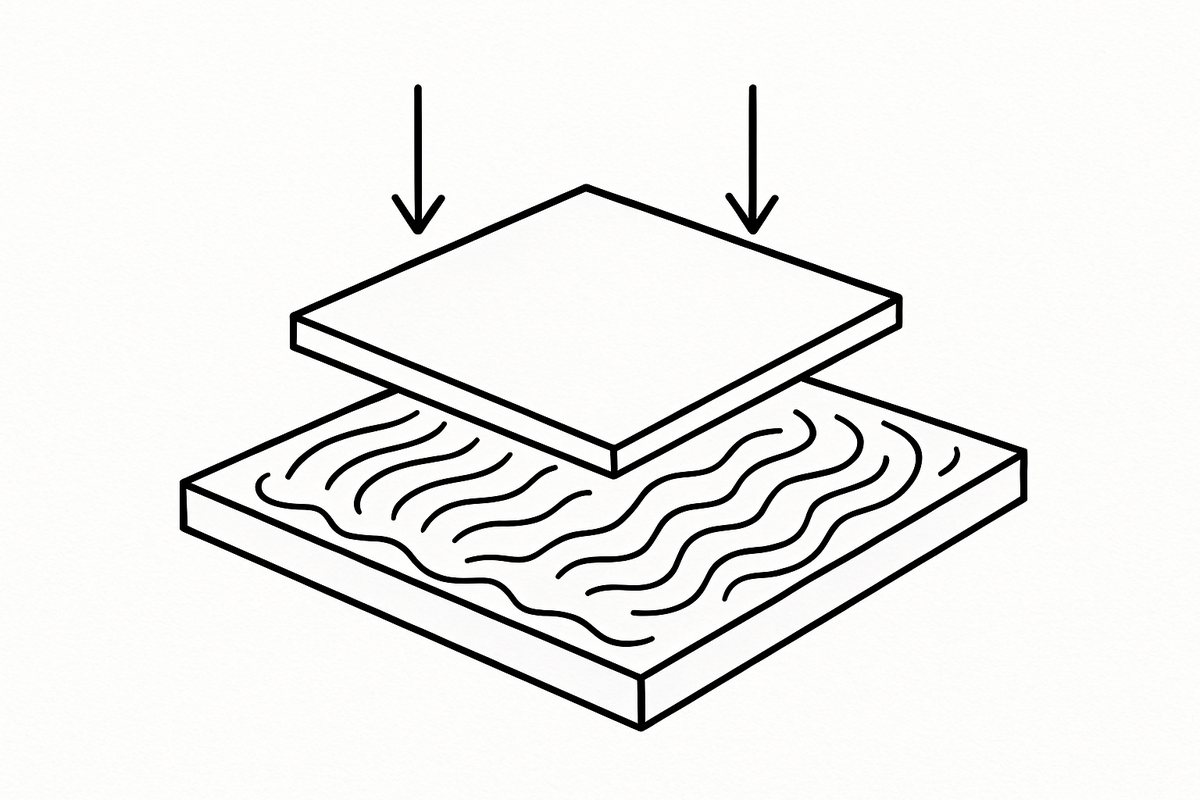
Here is the single most important thing to grasp about porcelain: it must be laid on a full, wet mortar bed with a priming slurry brushed onto the back of every slab. Miss that slurry and the bond can fail, leaving you with hollow-sounding, loose or cracked paving inside a season or two.
The reason comes back to that near-sealed underside. Ordinary mortar grips natural stone partly because the stone pulls in a little moisture and keys to the mix. Porcelain absorbs almost nothing, so the mortar has nothing to bite into on its own. A priming slurry, essentially a bonding bridge, is painted onto the underside of each slab right before it is placed, giving the mortar the grip it needs.
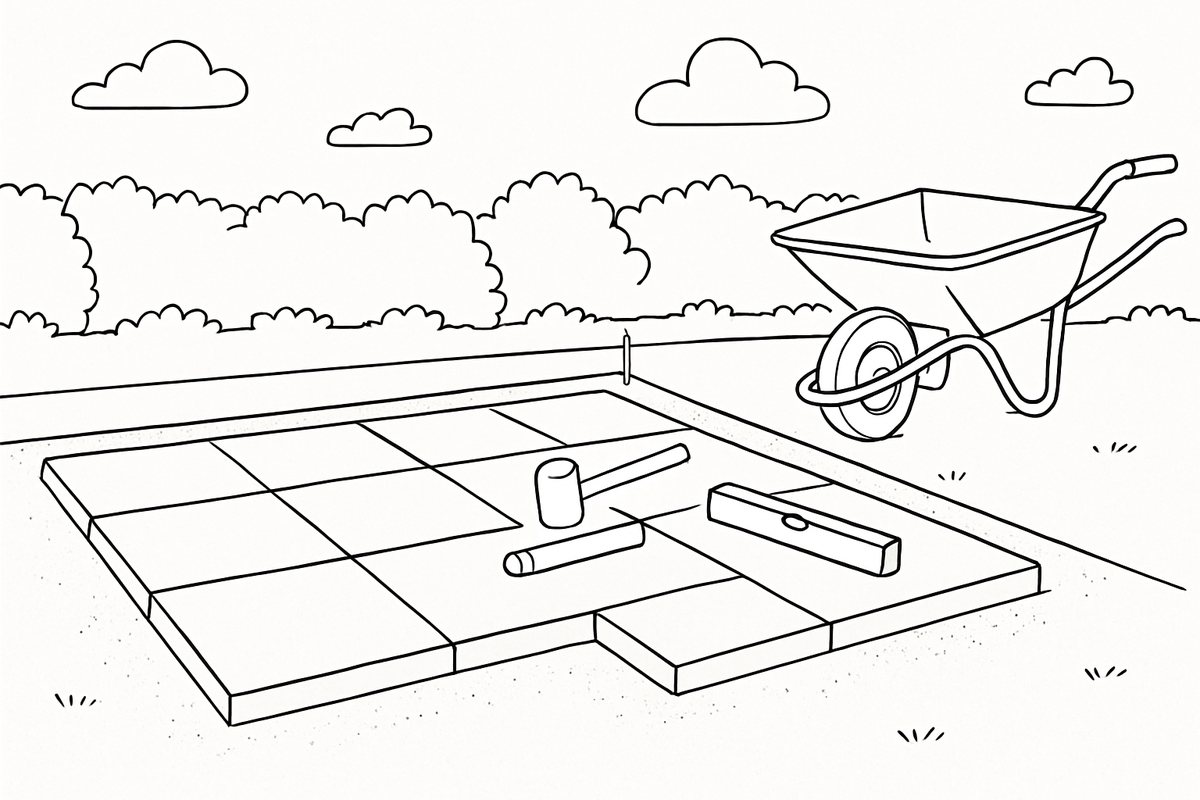
A sound build-up for a typical porcelain patio runs like this:
- Excavate to the correct depth, allowing for the sub-base, the mortar bed and the 20mm slab, and keeping the finished paving at least two brick courses (about 150mm) below the damp-proof course.
- Lay and compact the sub-base, around 100mm of well-consolidated MOT Type 1.
- Set a full mortar bed, a wetter sand-and-cement mix, rather than dabs or a spot-bed.
- Prime the back of the slab with slurry, then lower it onto the bed and tap down to level.
- Build in a fall of around 1:60 to 1:80 so water runs off, away from the house.
- Point the joints with a flexible, exterior-grade jointing compound made for porcelain.
Cutting is done on a wet diamond saw, and joints are kept even (usually 3–5mm) with spacers. None of this is beyond a capable DIYer, but the tolerances are tight, the materials specific and the cost of a mistake high. If you want to get the groundwork principles clear first, our step-by-step guide on how to lay a patio covers sub-bases, falls and jointing in more depth. For a patio you expect to rely on for twenty years and more, porcelain is one job where an experienced installer usually earns their fee.
Looking after porcelain paving
The good news is that there is very little to do. Because the vitrified surface seals itself, there is no yearly treatment to keep on top of.
- Routine care: sweep off debris and wash now and then with warm water and a little washing-up liquid, or a pH-neutral cleaner.
- Stubborn marks: most lift with a soft brush and cleaner; steer clear of harsh acids and abrasive pads that can dull the finish.
- Pressure washing: fine on porcelain, but keep the lance moving and avoid firing it straight into the joints.
- Do not seal it: unlike sandstone, porcelain does not need a sealer, and applying one can leave a hazy film.
If your current patio is a porous material rather than porcelain, our advice on how to clean a patio tackles algae, moss and black spots in detail.
So, is porcelain paving worth it?
For most modern gardens, yes. If you want a patio that looks sharp, stays that way with almost no effort, and holds off stains, frost and fading for decades, porcelain is hard to beat. The premium you pay at the outset buys years of freedom from sealing, scrubbing and re-sanding.
It is a weaker fit if your budget is tight, if you love the natural character of real stone, or if you are set on a straightforward DIY job. In those cases, quality sandstone or concrete may suit you better. The material itself is superb; the deciding factors are your look, your budget and who is laying it.
If you are weighing up porcelain paving for your home in Cambridge or across East Anglia, we are always happy to talk it through, with no pressure and honest advice. Take a look at our decking, patio and paving services, then get a free, no-obligation quote or call the team on 01223 912222. We will help you choose the right material and lay it properly, so your patio looks its best for years to come.
Frequently asked questions
Is porcelain paving slippery when wet?
Good outdoor porcelain is textured and commonly carries an R11 slip rating, so it grips well even in the rain, which makes it a sensible choice around pool surrounds, shaded corners and anywhere that stays damp. The one thing to avoid is using smooth, indoor-only polished tiles outside, as those can become slippery when wet.
Does porcelain paving need sealing?
No. Porcelain is vitrified and effectively non-porous, so it is sealed by its own surface during manufacture. Unlike sandstone or concrete, it never needs a sealer, and applying one can actually leave a hazy film. A sweep and the occasional wash is all it takes.
Why does porcelain paving need a priming slurry?
Because porcelain barely absorbs water, ordinary mortar has nothing to key into on the smooth underside of the slab. A priming slurry painted onto the back of each slab acts as a bonding bridge so the mortar grips properly. Skip it and you risk loose, hollow or cracked slabs, which is why a full mortar bed with slurry is essential.
Is porcelain paving more expensive than sandstone?
Usually, yes. Both the slabs and the skilled labour tend to cost more than sandstone. As a rough guide, porcelain slabs often run around £25–£70 per m² depending on the range, with professional installation frequently in the region of £100–£180 per m² all in. Over the life of the patio, though, the near-zero maintenance closes much of that gap.
Can I lay porcelain paving myself?
It is possible for a confident DIYer, but it is less forgiving than natural stone. Porcelain has to go onto a full wet mortar bed with a priming slurry, be cut on a wet diamond saw, and set with tight, even joints and a proper fall. Given the specialist kit and the cost of getting it wrong, many people opt for a professional installer for peace of mind.